Scanifly users can easily leverage Zapier integrations to sync data between their organization's tools of choice and Scanifly without relying on a software engineer to build out a full integration.
This overview assumes you have some familiarity with Zapier already. Here are a couple of examples of how you can use Scanifly Zaps to reduce clicks, automate manual tasks and reduce the risk of incorrectly copying data to the wrong place.
Getting Started
Setup API Key in Zapier
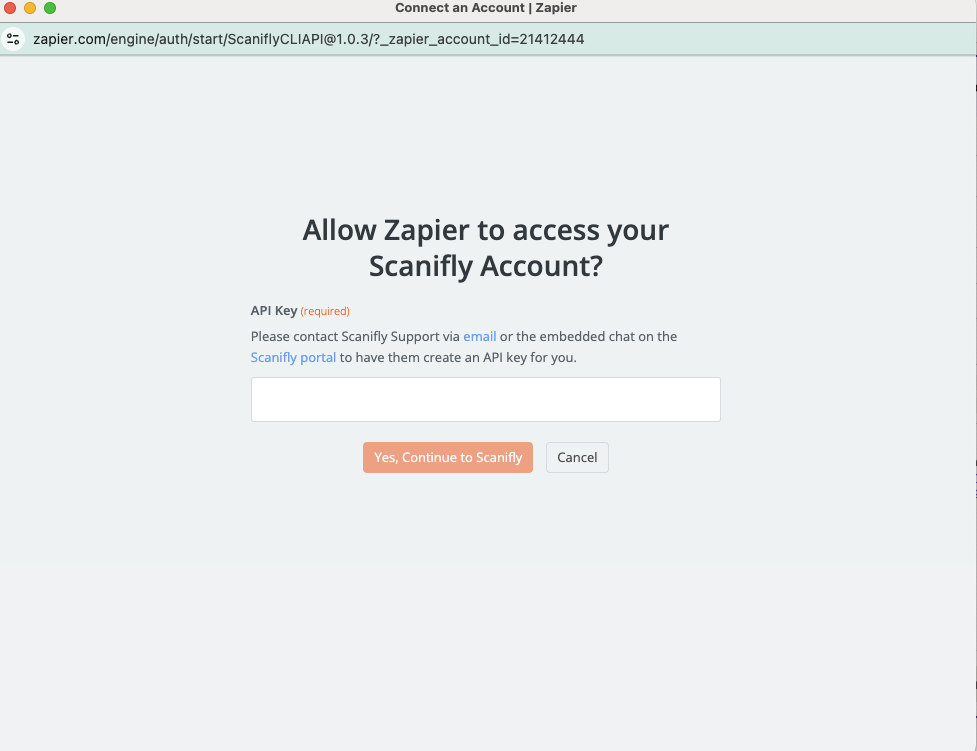
To enable Zapier to make calls to Scanifly on your behalf, you will need to setup a Scanifly API key. The key must be generated on a Scanifly Admin user's account. You can follow the below steps to generate the key, which will then be pasted into Zapier.
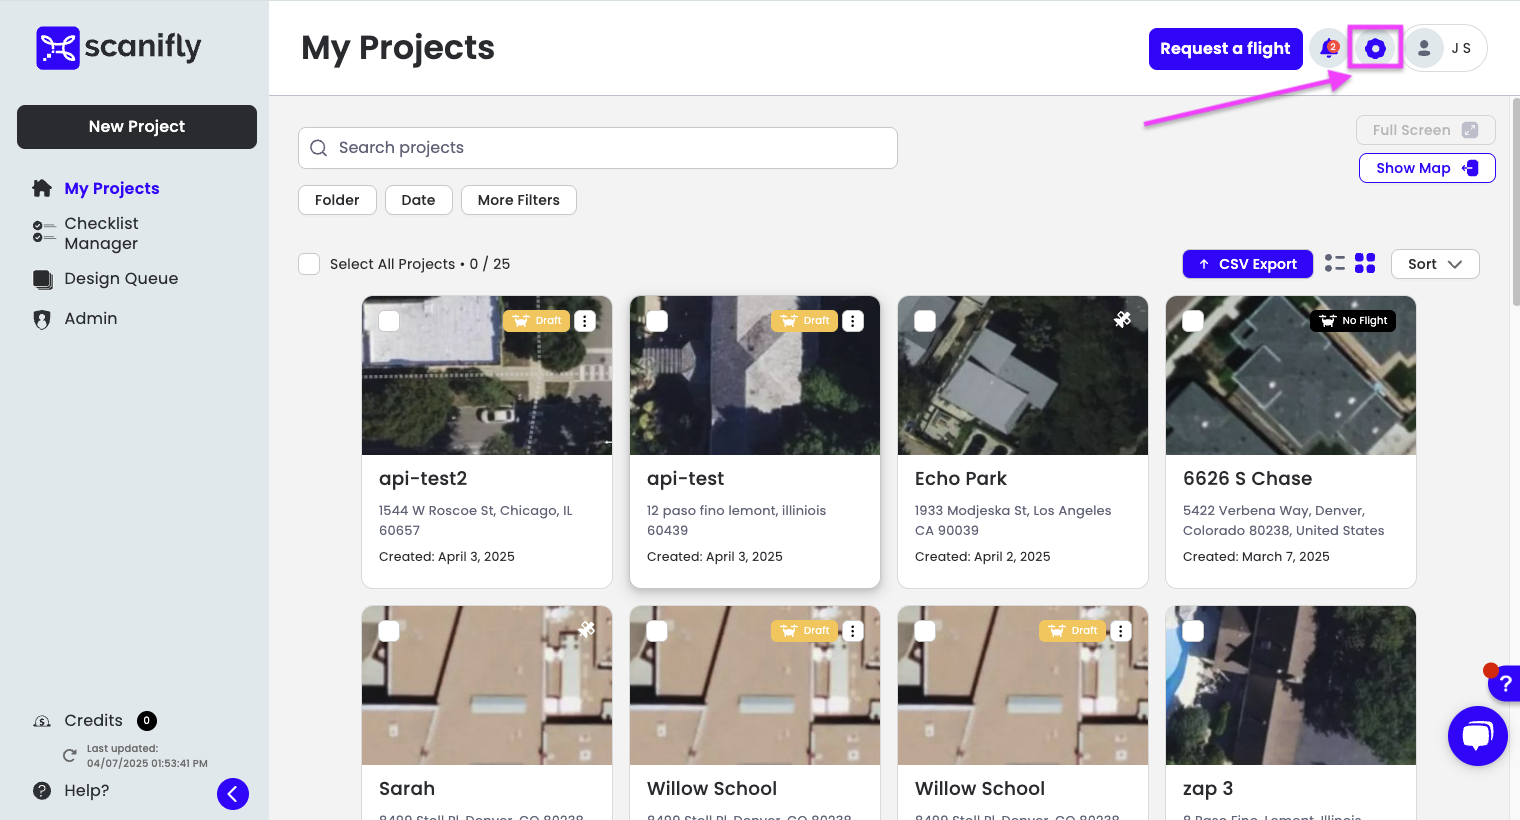
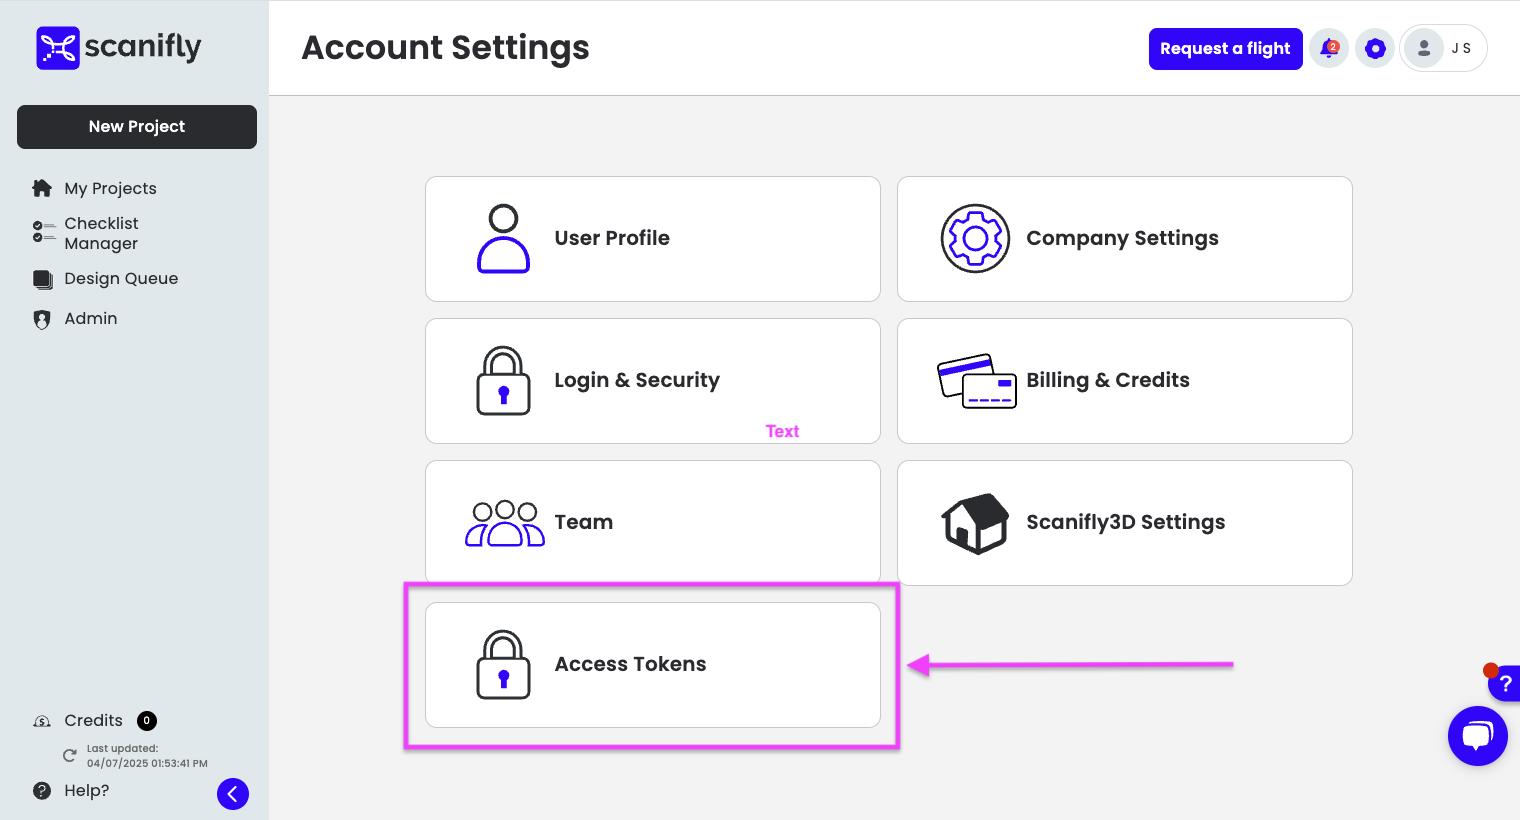
- On an Admin account, navigate to the Settings
- Select 'Access Tokens'
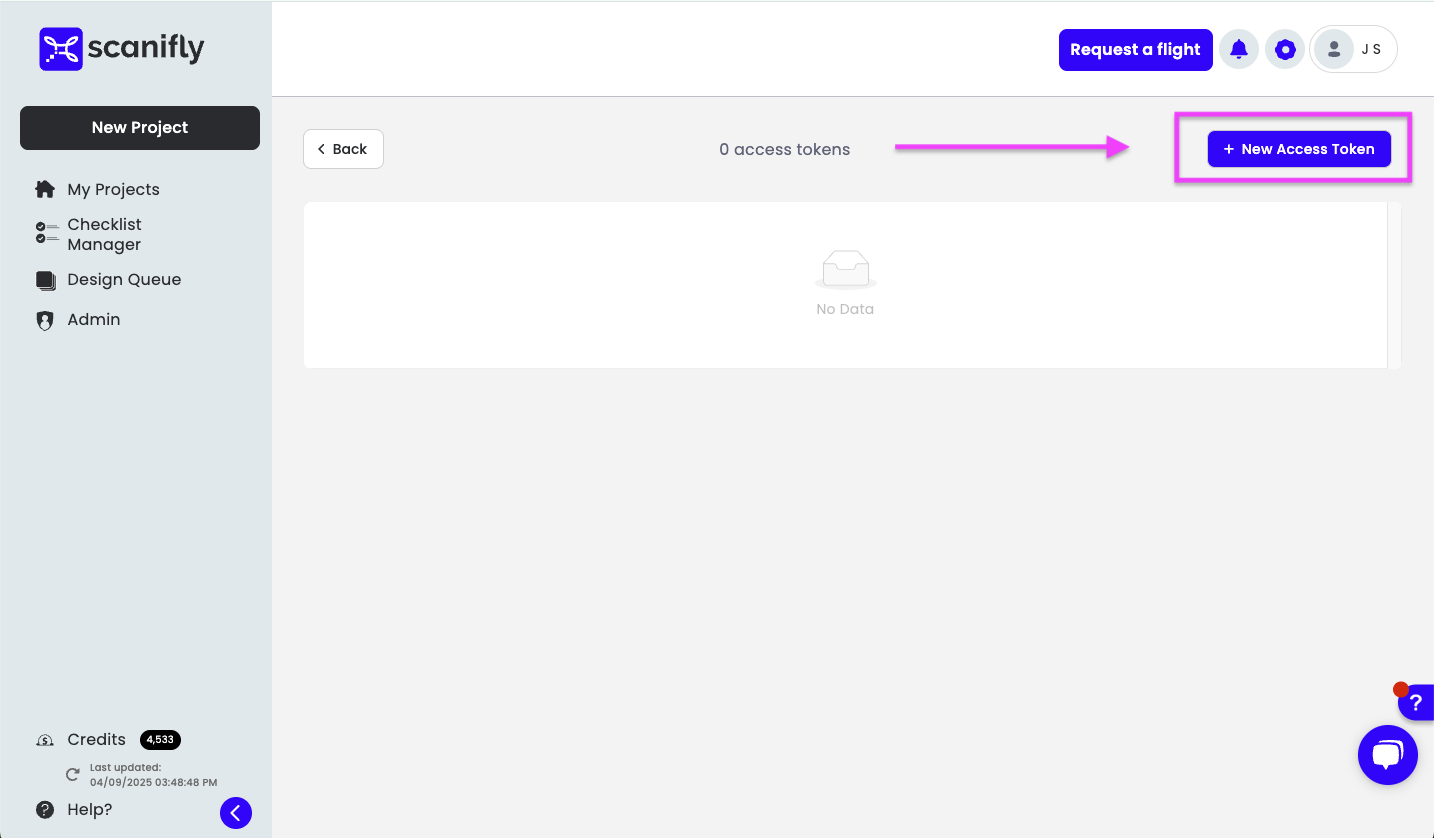
- Click the New Access Token button.
- Select Zapier from the drop down list.

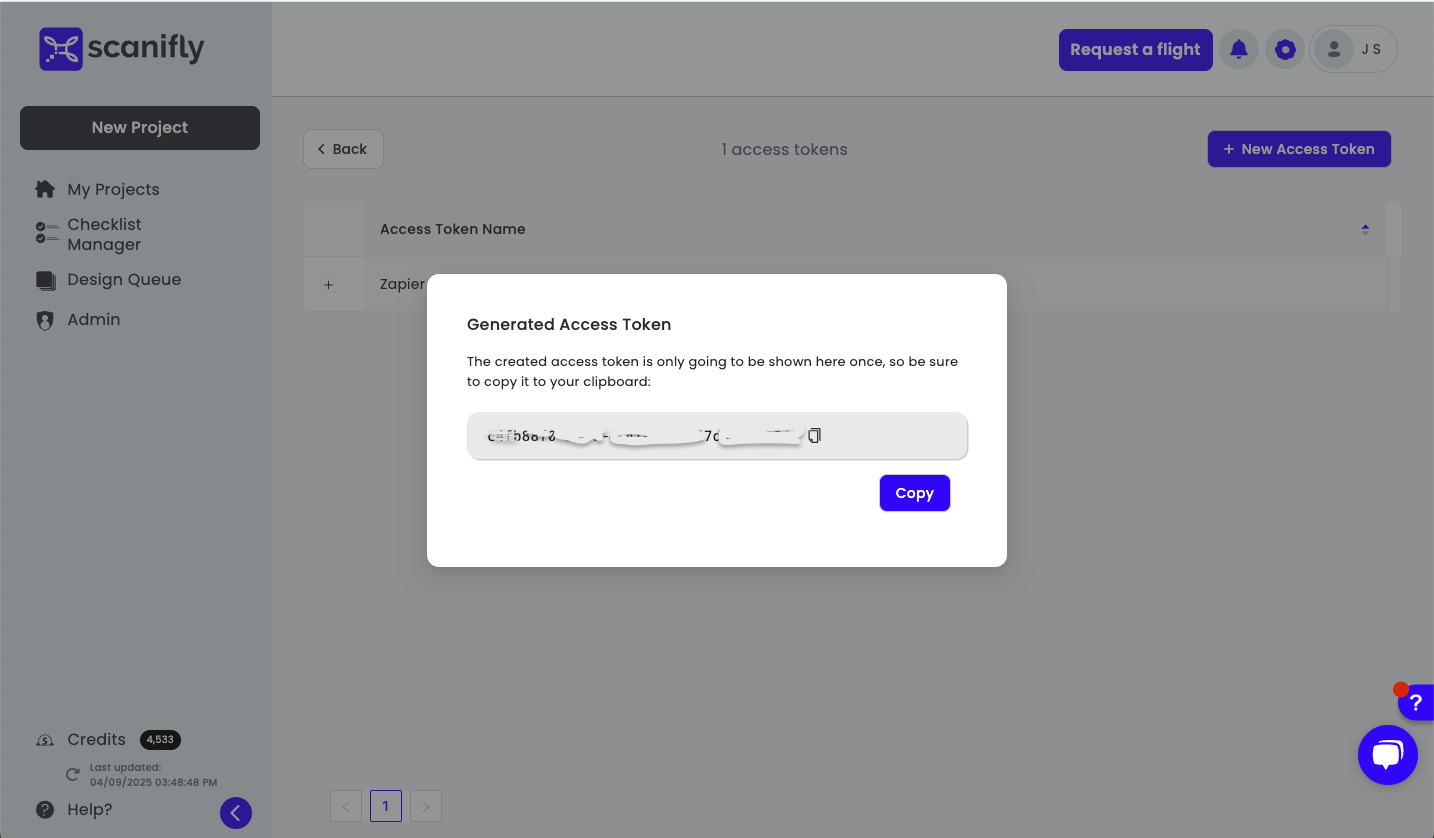
- Copy the Access Token to your clipboard so you can paste it into Zapier.
- Paste the token into Zapier.
Create a Scanifly Project from Your Tools
Once you have setup your key, you are ready to start automating your workflow.
One of the available automations is to Create a Project from your tool or spreadsheet. When creating a project in your tool, you can choose to trigger the action by adding a button that a user clicks or by implementing other automation (i.e. another Zap that may be available for your tool) to automatically create a Scanifly project every time one is added to your tool (or meets some condition).
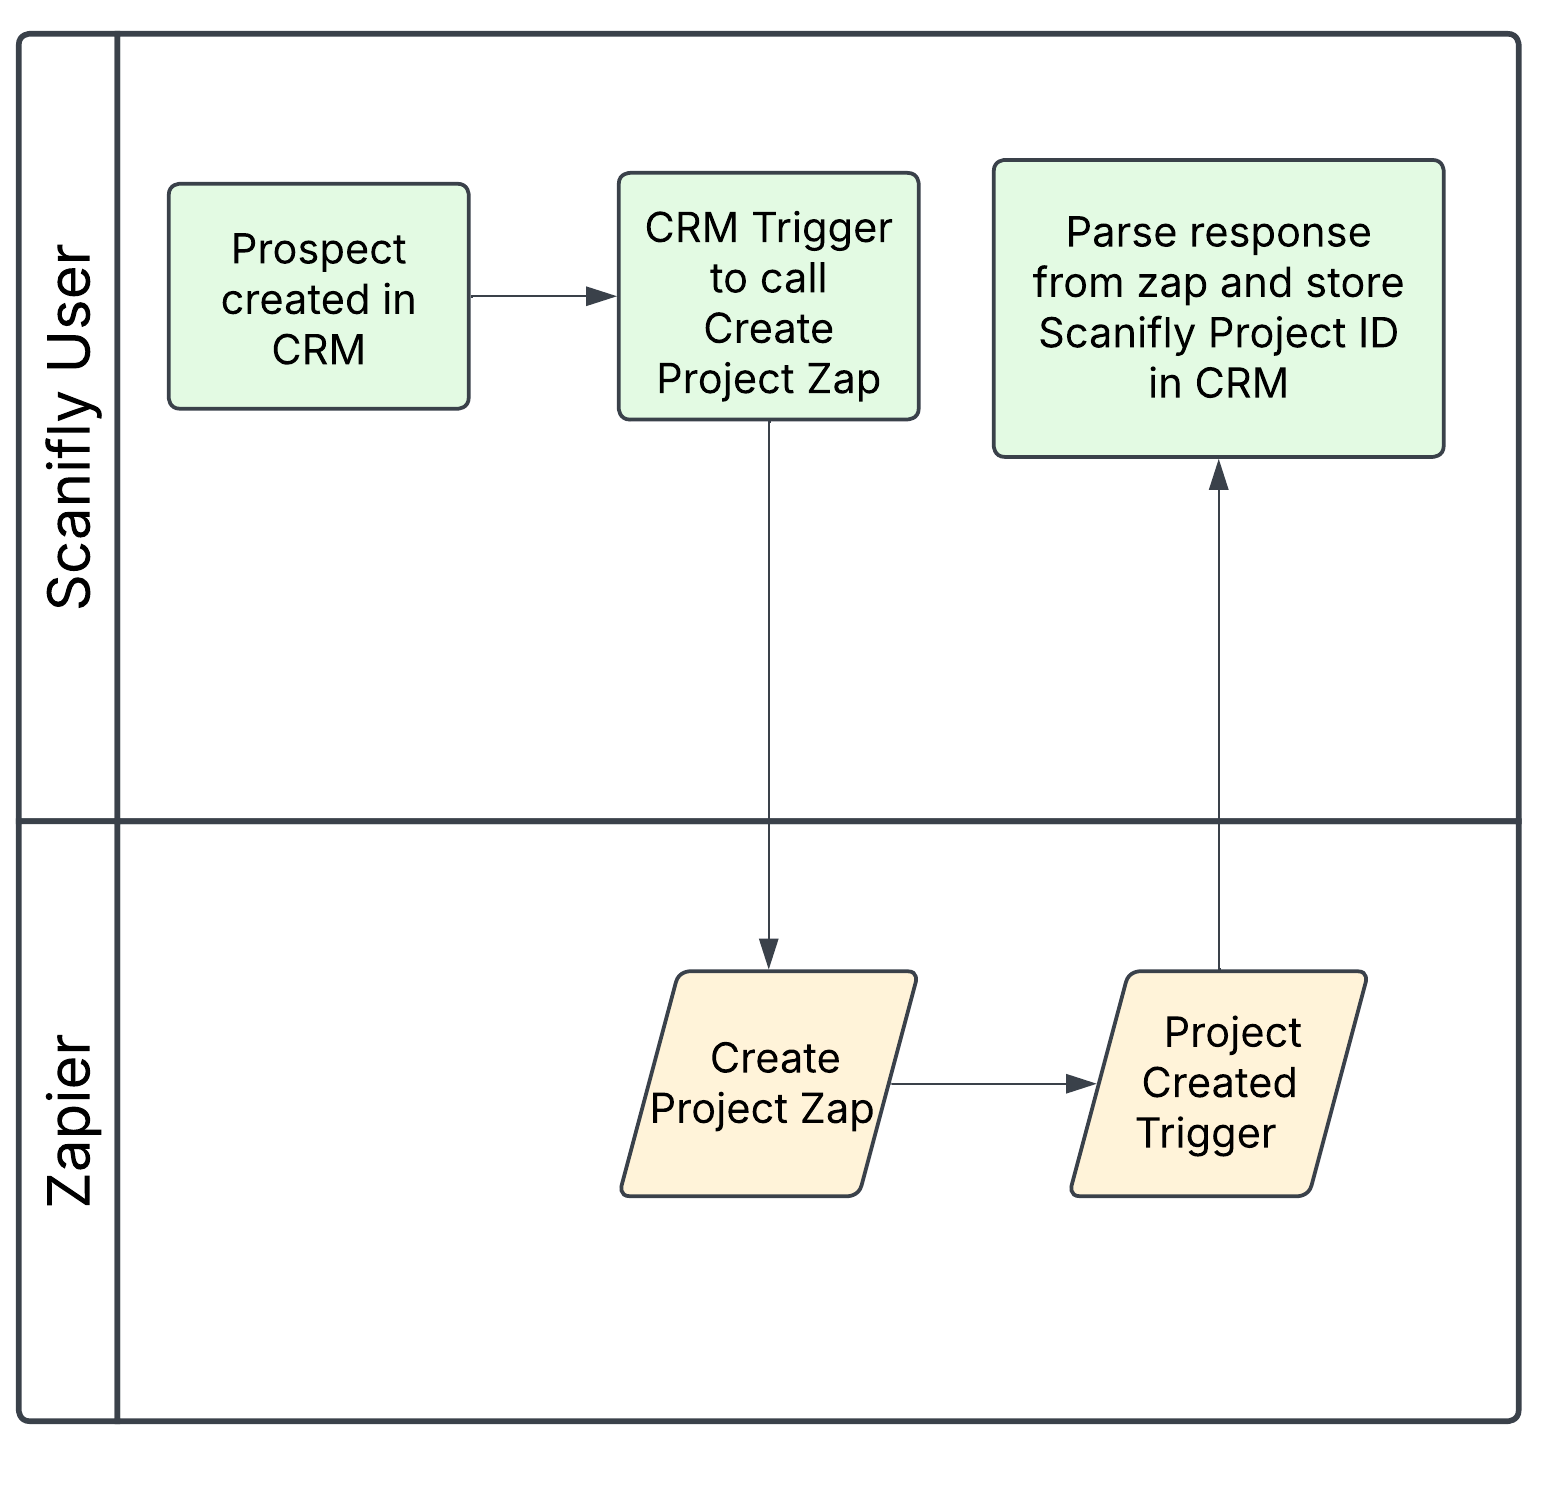
So, let's say you have prospects and/or closed deals in your tool that you'd like to sync over to Scanifly so that you and/or your team can generate preliminary designs as part of your prospecting process or generate a design that will be based on media files from a drone flight. You have the ability to do this without having to manually copy the account data from your tool and pasting it into Scanifly. You can perform this by stringing together a trigger and an action in Zapier.
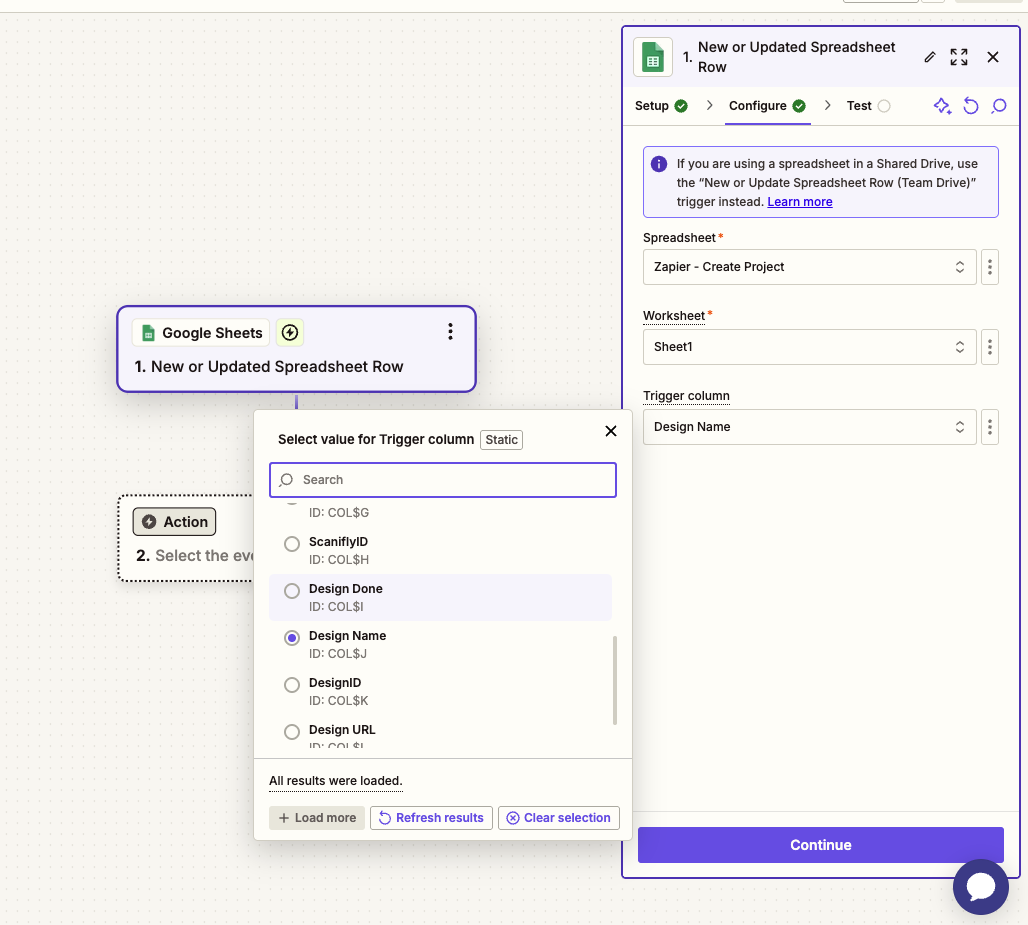
First you will need a trigger. The trigger's function is to 'watch' for something to happen and then, perform an action. It could be a new record is created or you can set up a button that syncs the data when clicked. Zapier has thousands of integrations and likely has one for your tool. For this example, we are going to use a Google Sheet. We want to create a new Scanifly project each time a new record is added to the Google Sheet. Again, in your case, you may want to add a button in your tool to initiate the request.
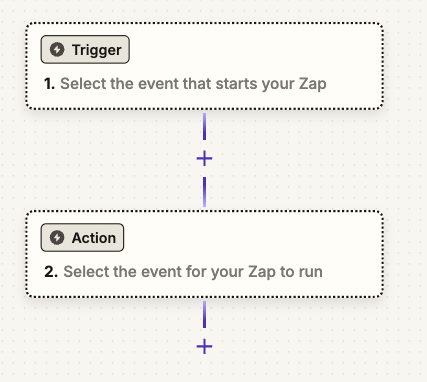
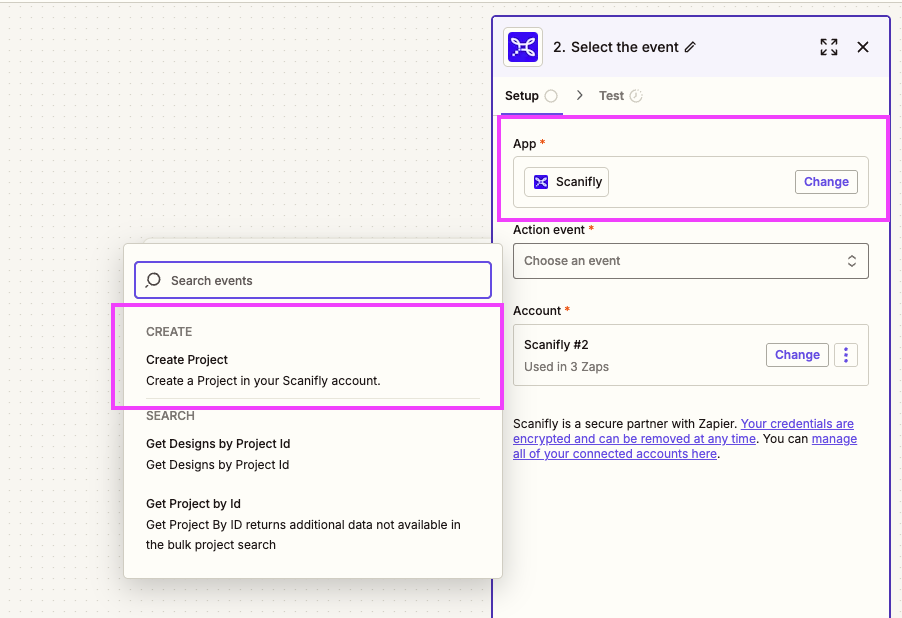
Next, you will need to configure your Action. Search for the Scanifly app and then select the Create Project action.
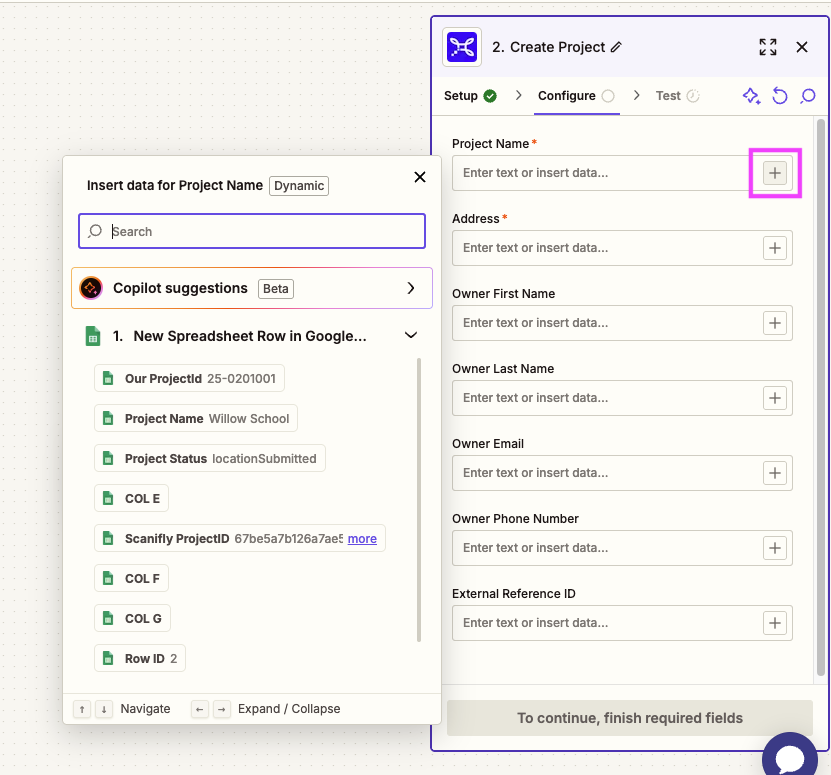
You can then map the fields from your data source (tool or worksheet) to the Scanifly Project fields.
You will be required to map:
- Project Name
- Address
The remaining fields are optional. If possible, you should map the Owner's (your customer) field data in the Zap configuration so their data will be reflected in Project reports. In the future, we will make the External Reference ID searchable in Scanifly.
Once mapped, you will have the option to test your configuration.
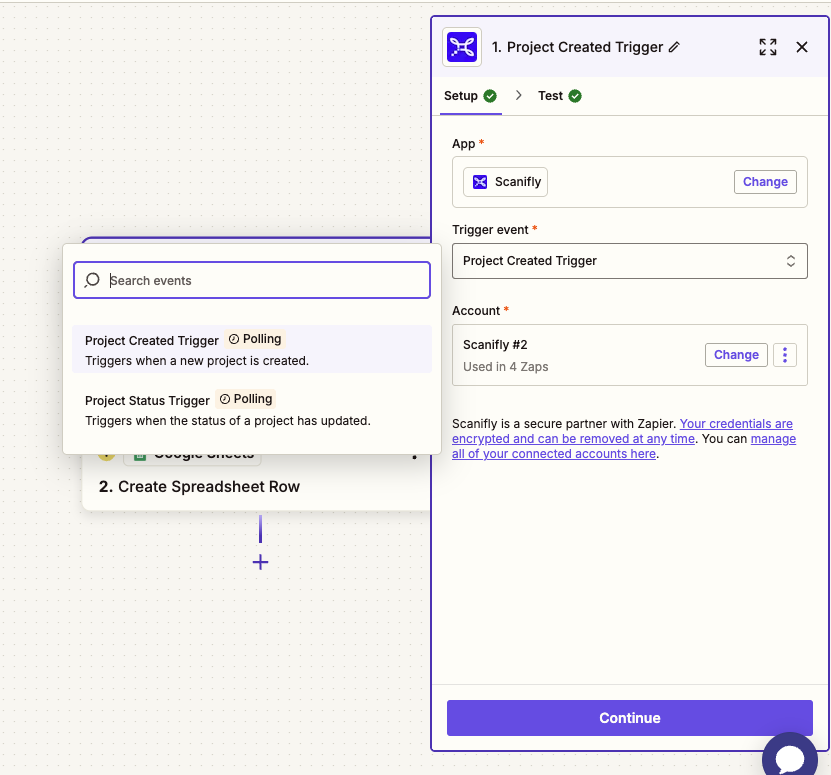
Sync Scanifly's Project ID into Your Tool
Once you have created a project in Scanifly, you will want to pull Scanifly's project ID so that you can store the value in your tool. The project ID is required when executing other Zaps. It it required create a project design, as well sync project design data and checklists into your tool.
You can use Scanifly's "Project Created Trigger" to pull the project ID. Set it up and it will continually run. It will pull in any new records created since the last time it 'checked' for new project records.
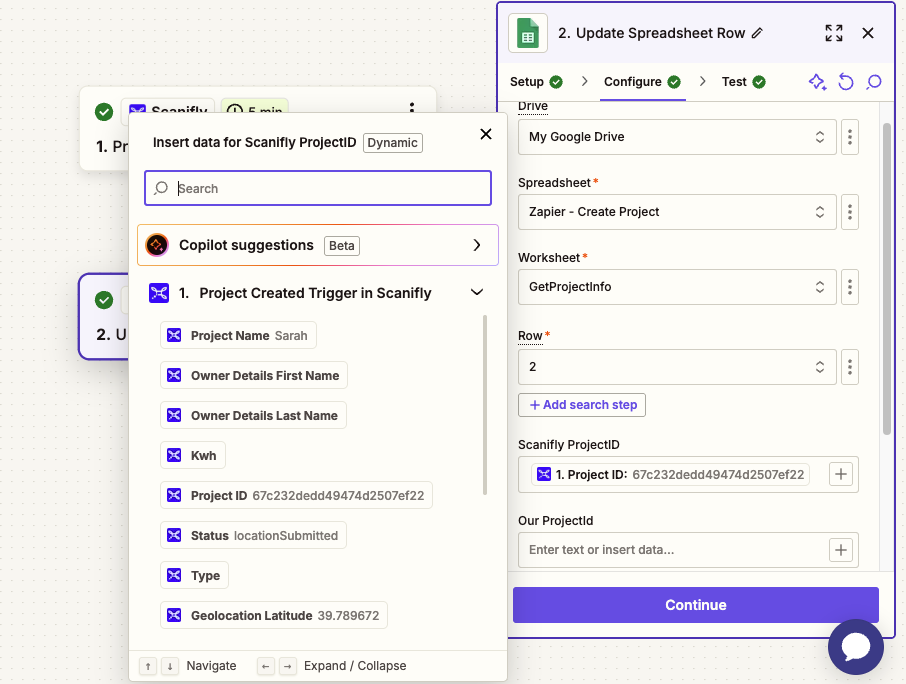
Determine where you would like to store Scanifly's Project ID value.
Map the to the field you would like to store Scanifly's Project ID value so that you can make additional Zap requests in the future.
There are some fields returned in the Trigger response that you may wish to parse and store in your system.
- Project Status (Please see the Scanifly API Overview for the list of Project Statuses)
- Geolocation Latitude / Logitude
- (Project) Created At Date/Time
- (Project) Updated At Date/Time
Updating a Project
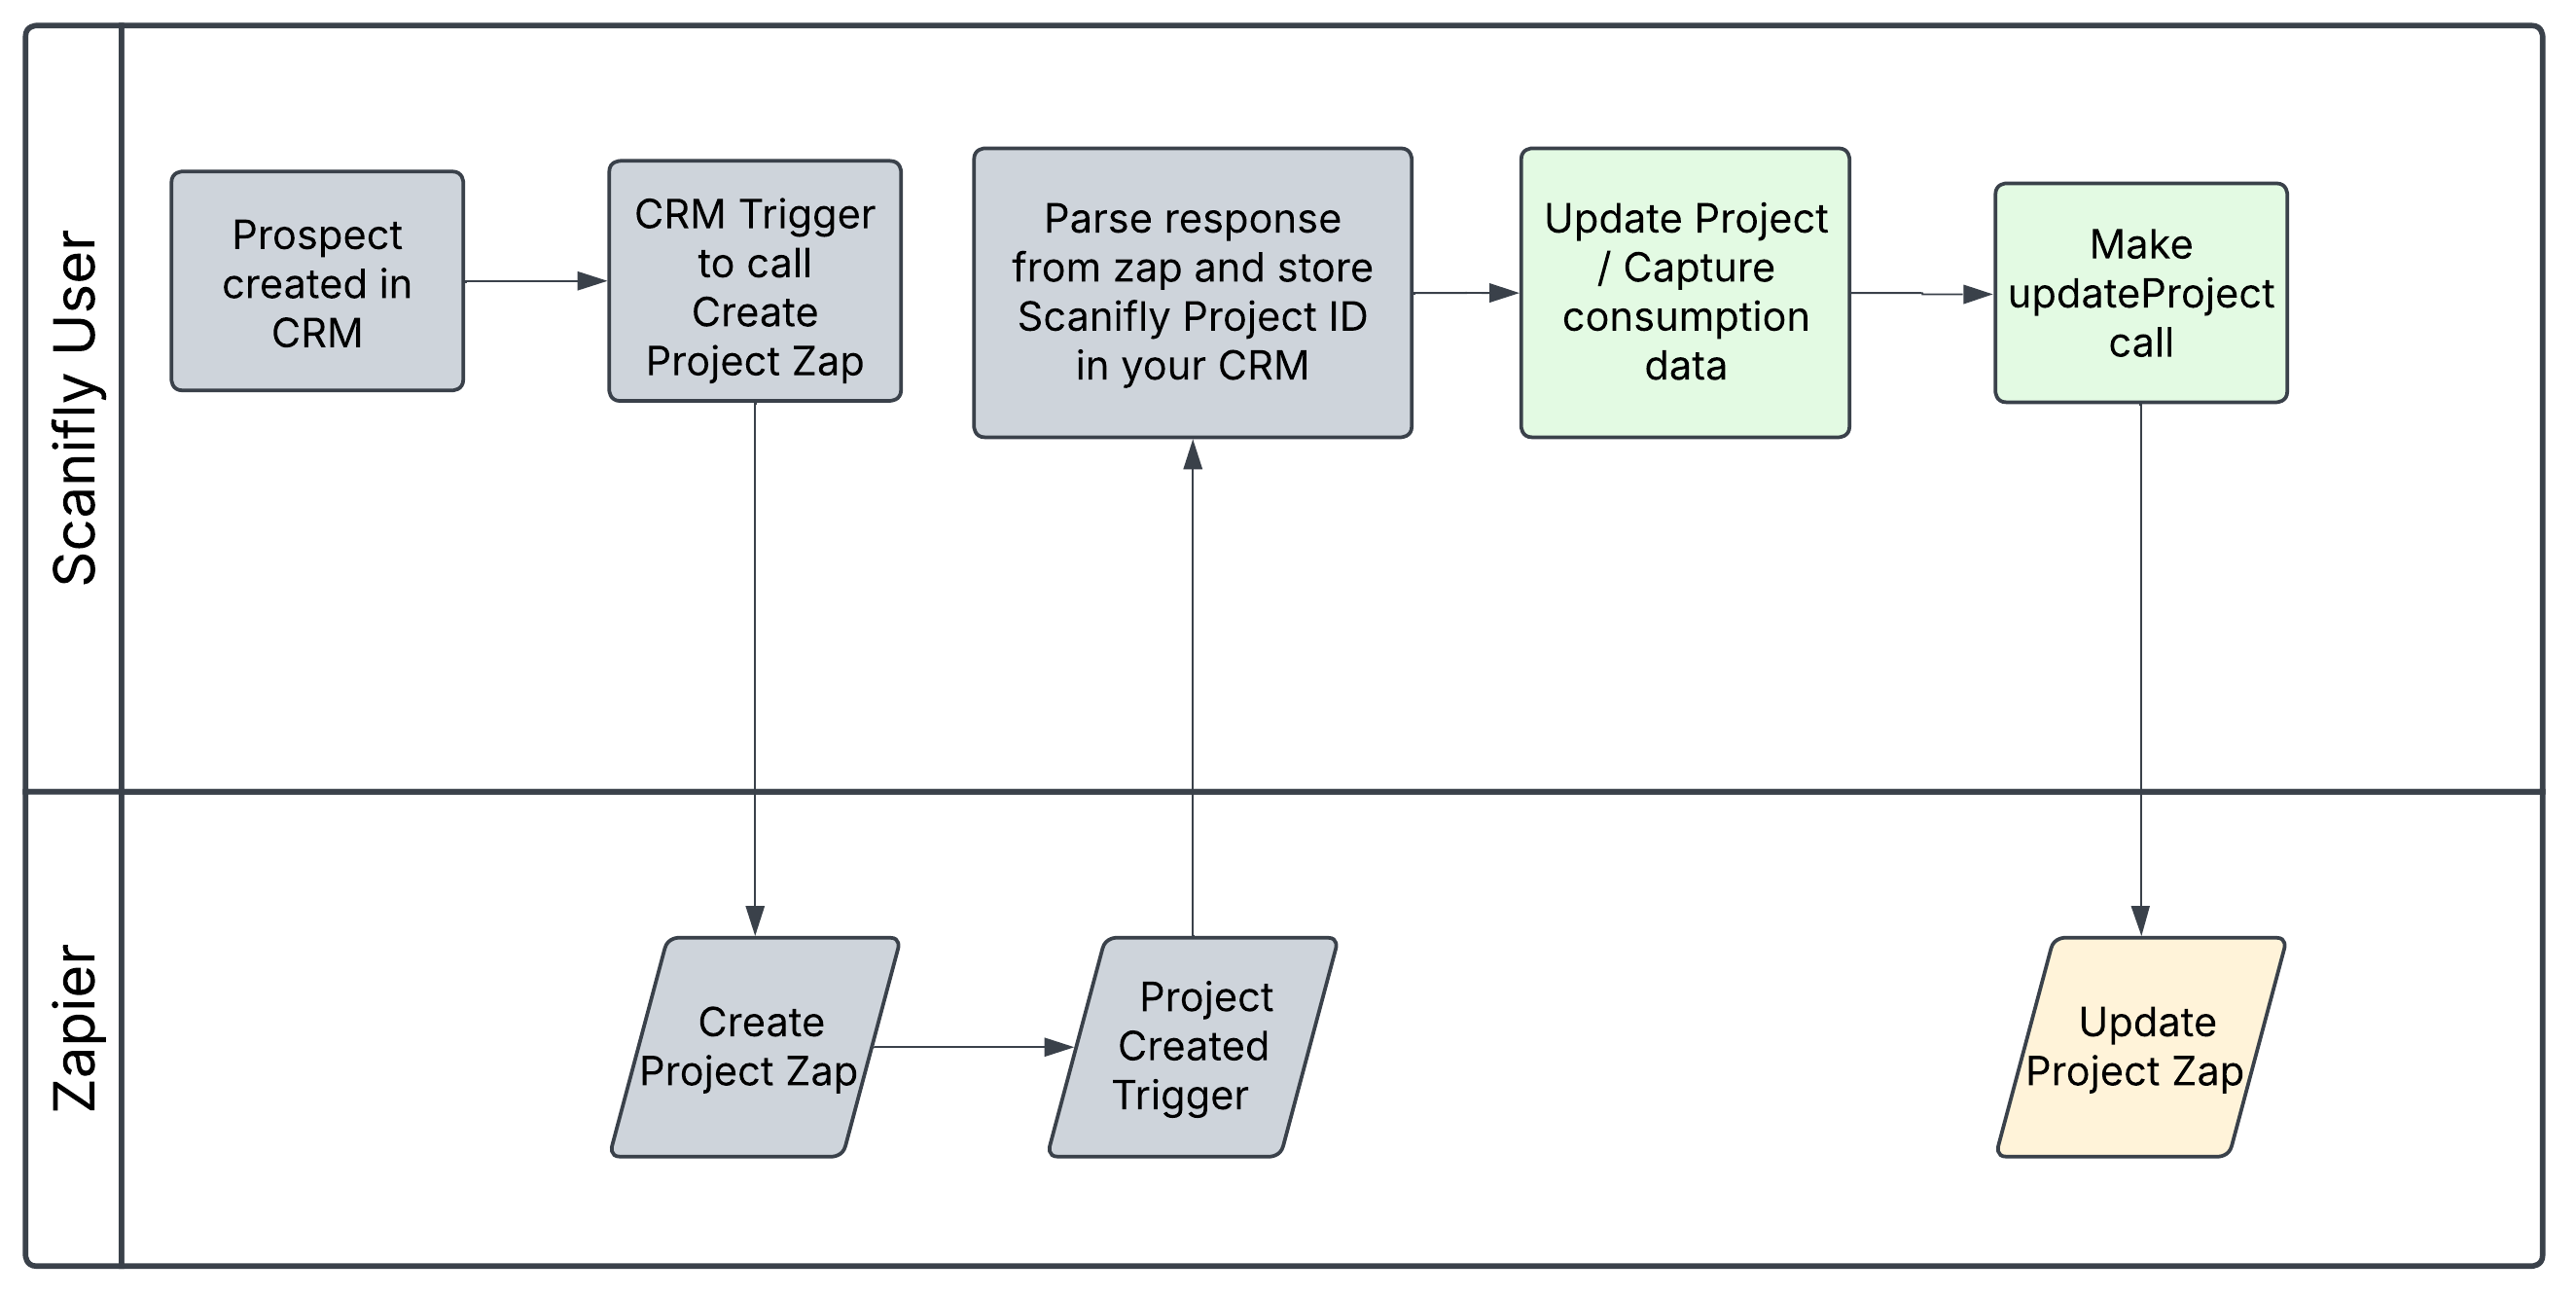
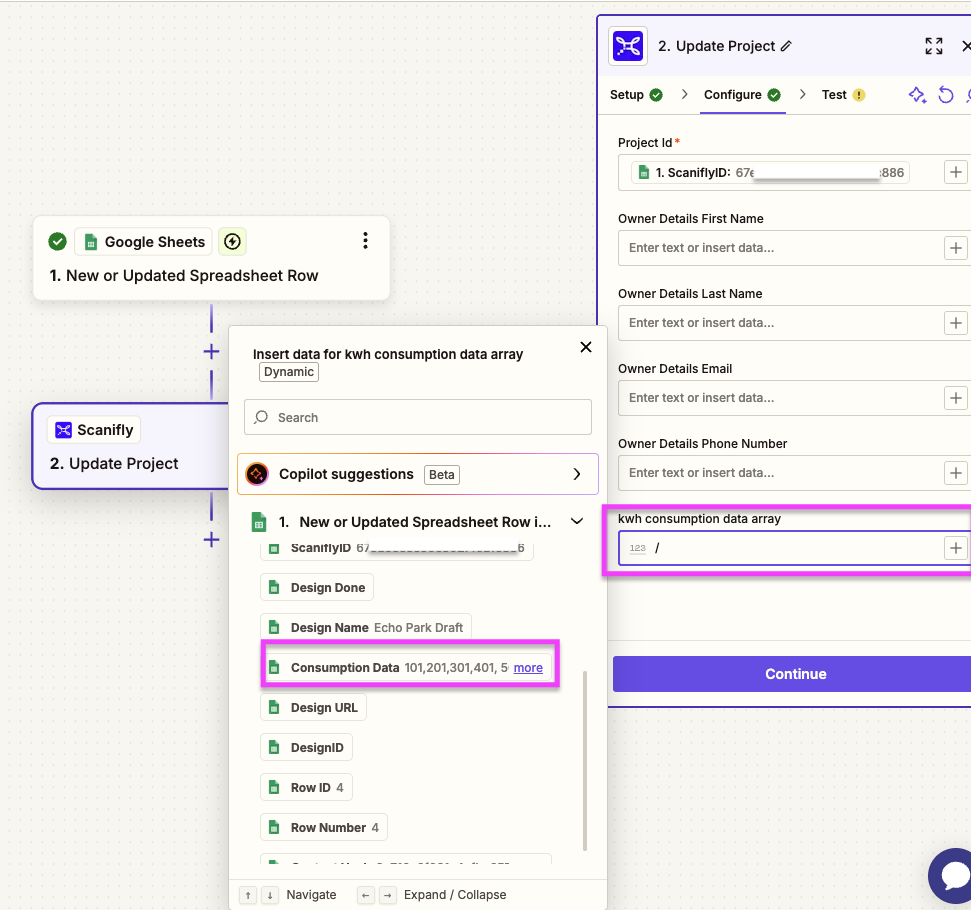
Some Scanifly customers user third party tools to capture consumption data. This data is helpful when refining offset calculations. Consumption is one of a couple of fields that you are allowed to update on a project. You are able to update the following fields by passing the Scanifly Project ID.
- Owner Details (first, last, email, phone)
- Type of property
- Monthly Usage Data / Consumption Data
- Utility Rate
- Solar Rate
Helpful tips when passing the Consumption Data
Monthly Usage / Consumption Data is passed as an array. The array is expecting 12 values, separated by commas. The first value is the January consumption data. If there are not 12 values passed when making this update, the API call will fail.
Create a Design on Your Project
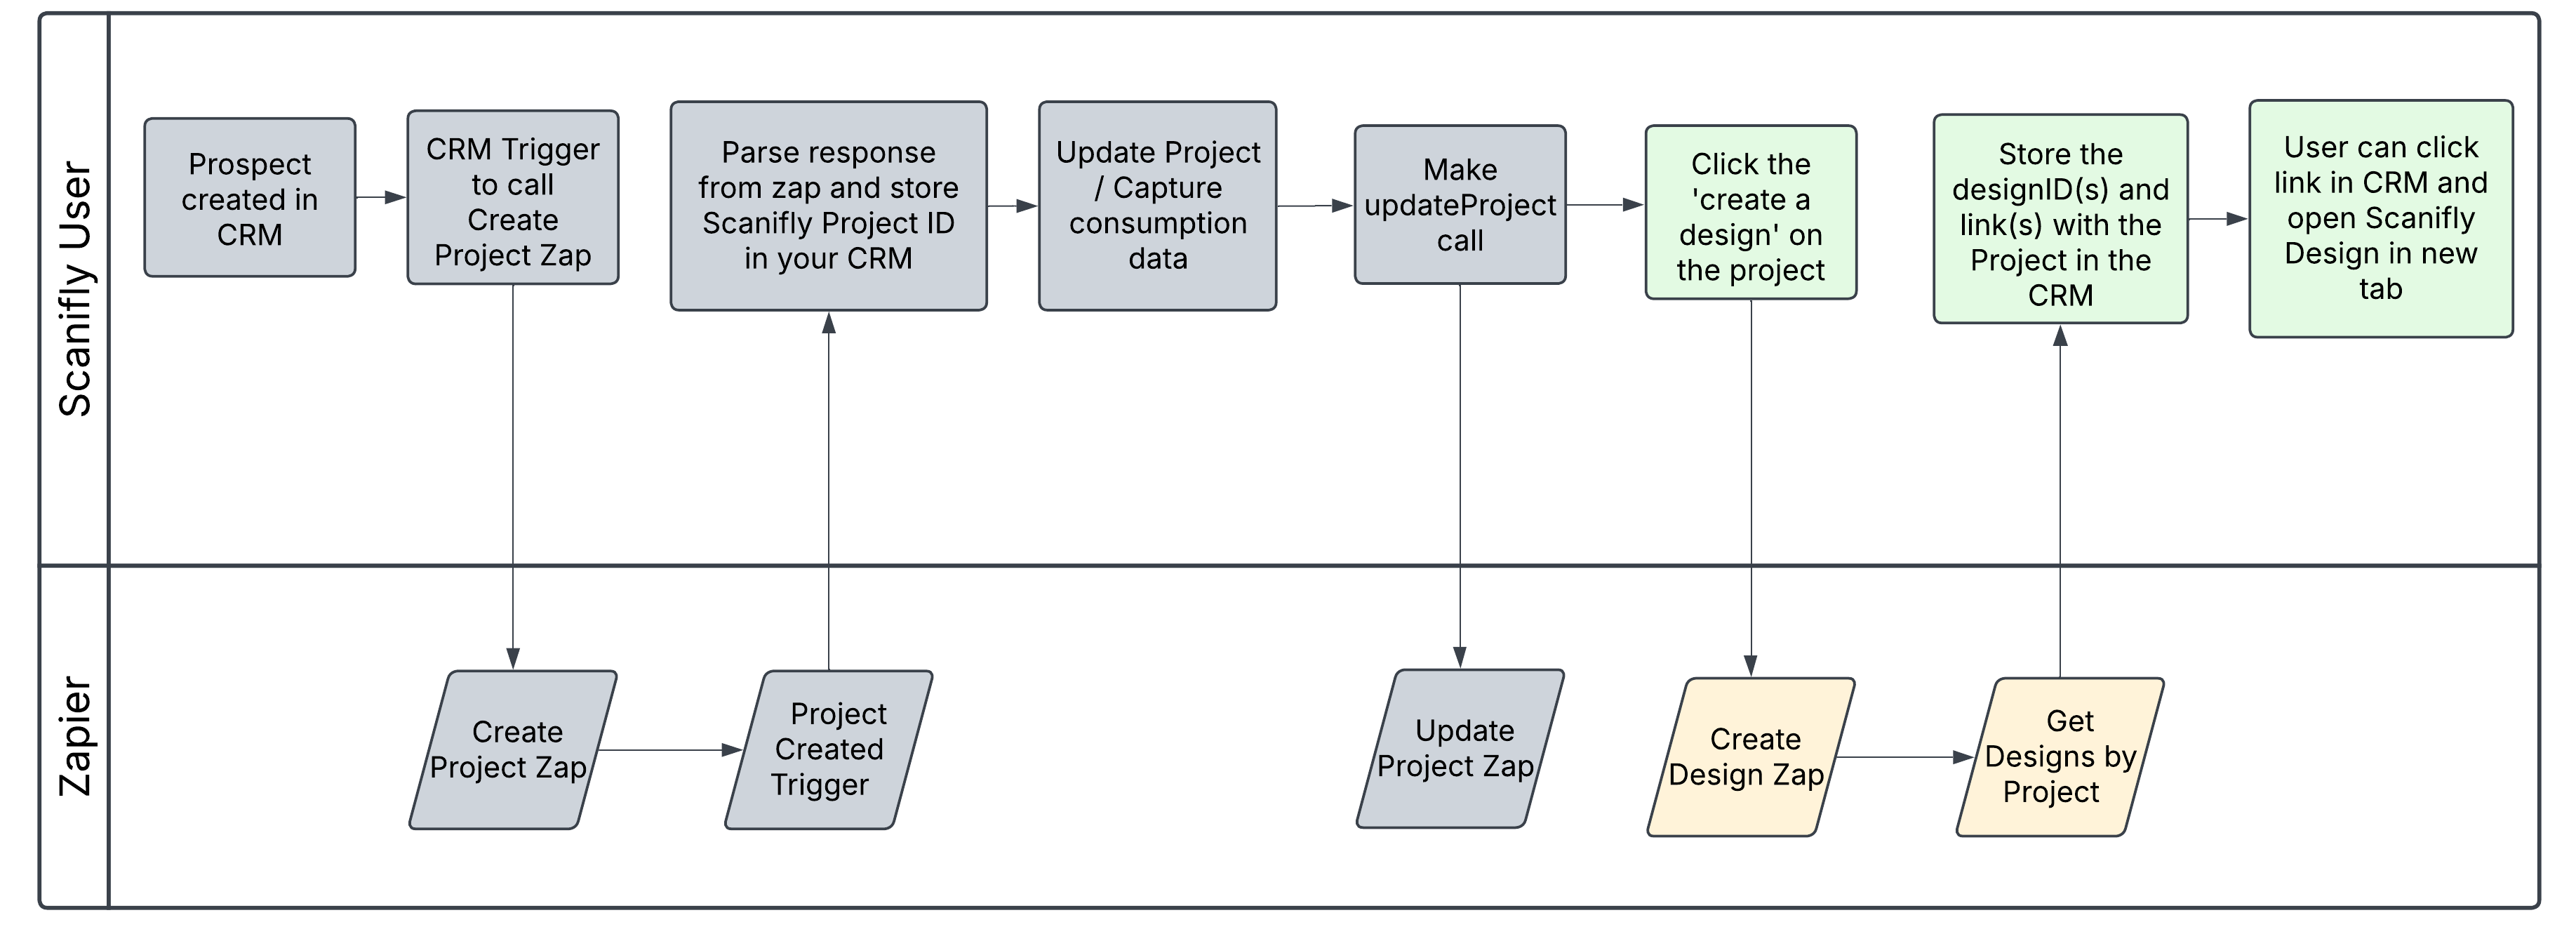
You have two ways to create a design on your project. You can manually create it directly in Scanifly, or, you can use a Zap to create a design from your tool.
Create Design Zap Action
Like other Zap Actions, the Create design zap starts with a trigger, some change in state or a button press. In this example, we are using the Design Name is being updated in a Google Spreadsheet.
The Zap requires the following fields to be mapped and passed when making the API call:
- Project ID
- Design Name
Get Designs by Project Id Action
Once the Design has been created, you can add a Get Designs by Project ID Action to your workflow. This will return all of the design IDs for the project ID you send. There is a significant amount of data that is passed back in this response. Below is some of the data available to ingest into your tool. Please refer to the API Overview for a more detailed overview.
- Nearest Weather Station (Address and Distance)
- Segment Count
- Module
- Module Quantity
- System Size
- Estimated Production, Monthly Production and Ratio
- System Annual Consumption
- Offset
- Roof Surface Area
- Roof Coverage
- Array Perimeter
- ASA and TSRF