Tips, Tricks and Hotkeys
Tips tricks and Hotkeys in Scanifly are the key to a fast and efficient workflow.
Orbit / Pan / Zoom - do not stay in a fixed view!
-
One of the most important things to do while working in Scanifly is to make use of the Orbit / Pan / Zoom function in order to maximize your use of the 3D environment.
-
For a refresher on how to Navigate in Scanifly 3D please visit our Navigation in Scanifly3D page
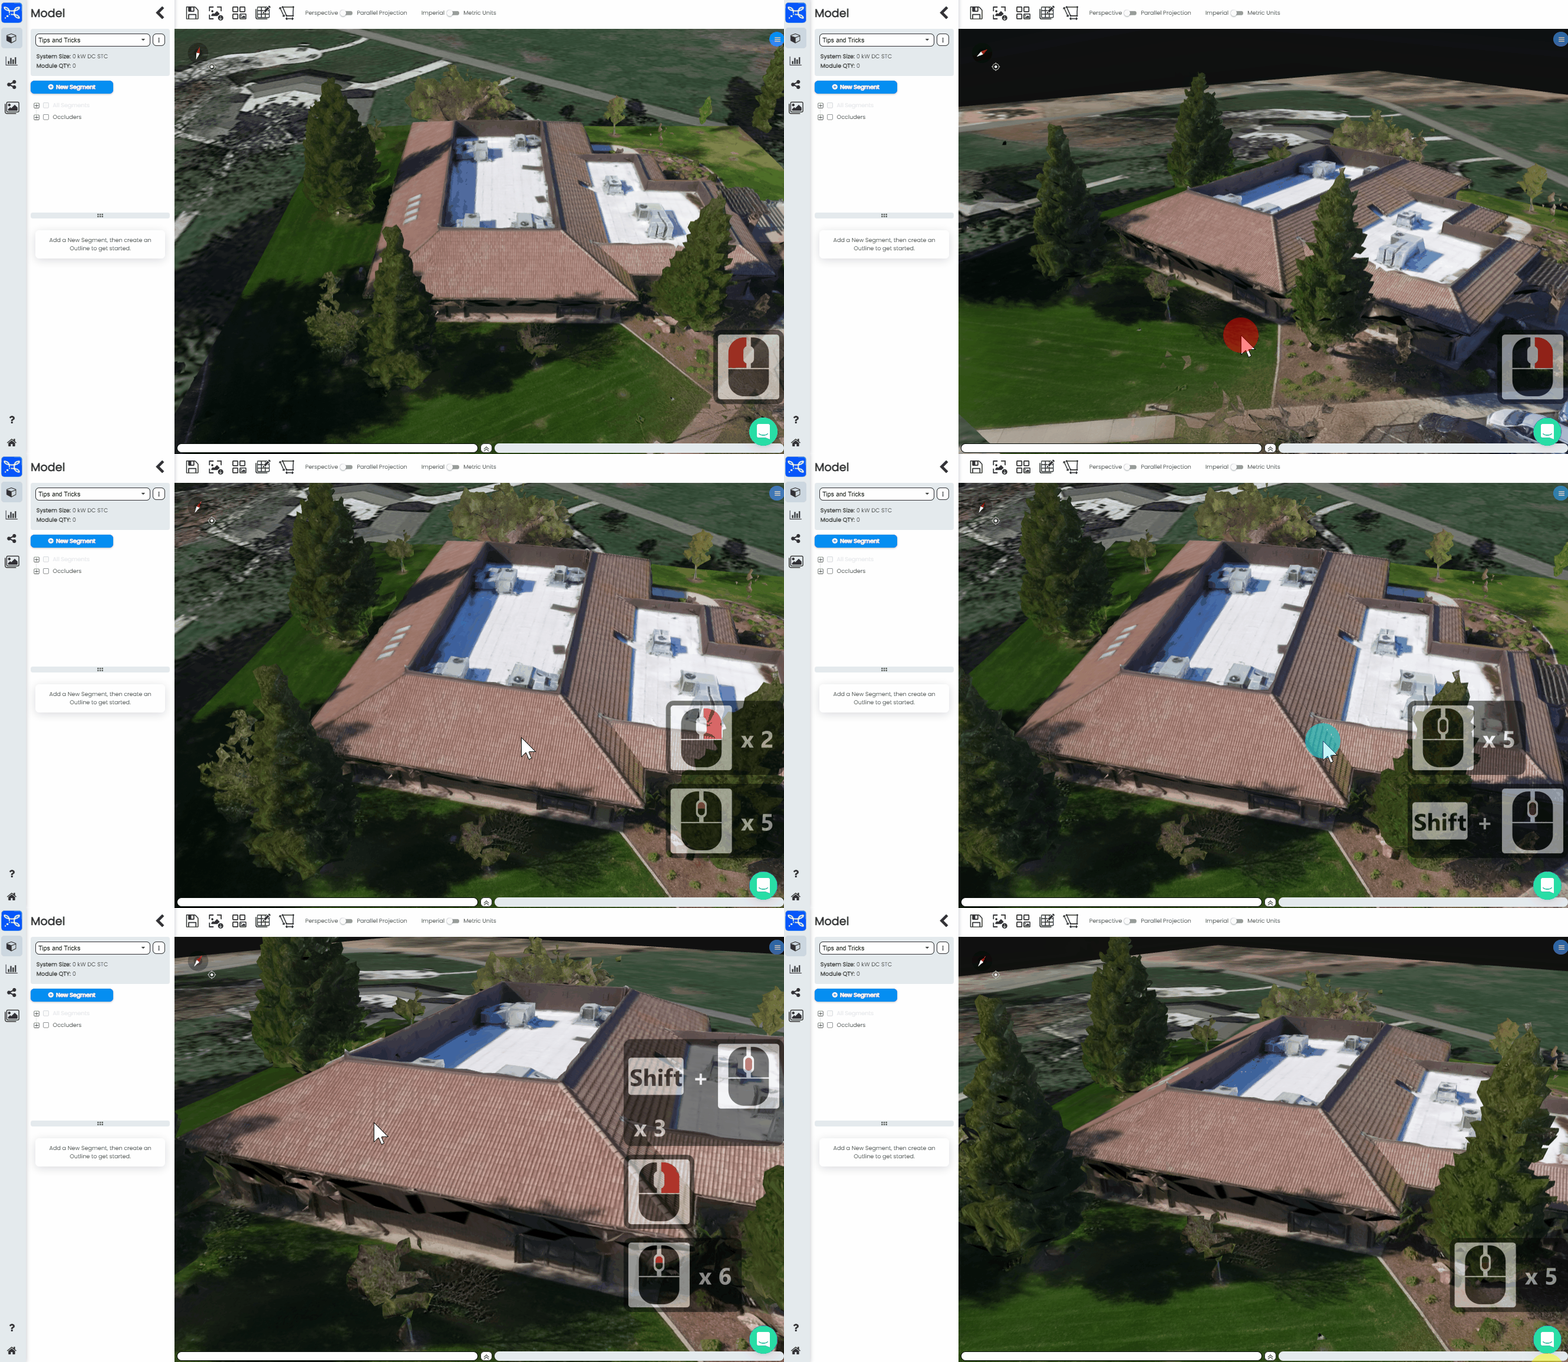
Orbit, Pan and Zoom in Scanifly 3D.
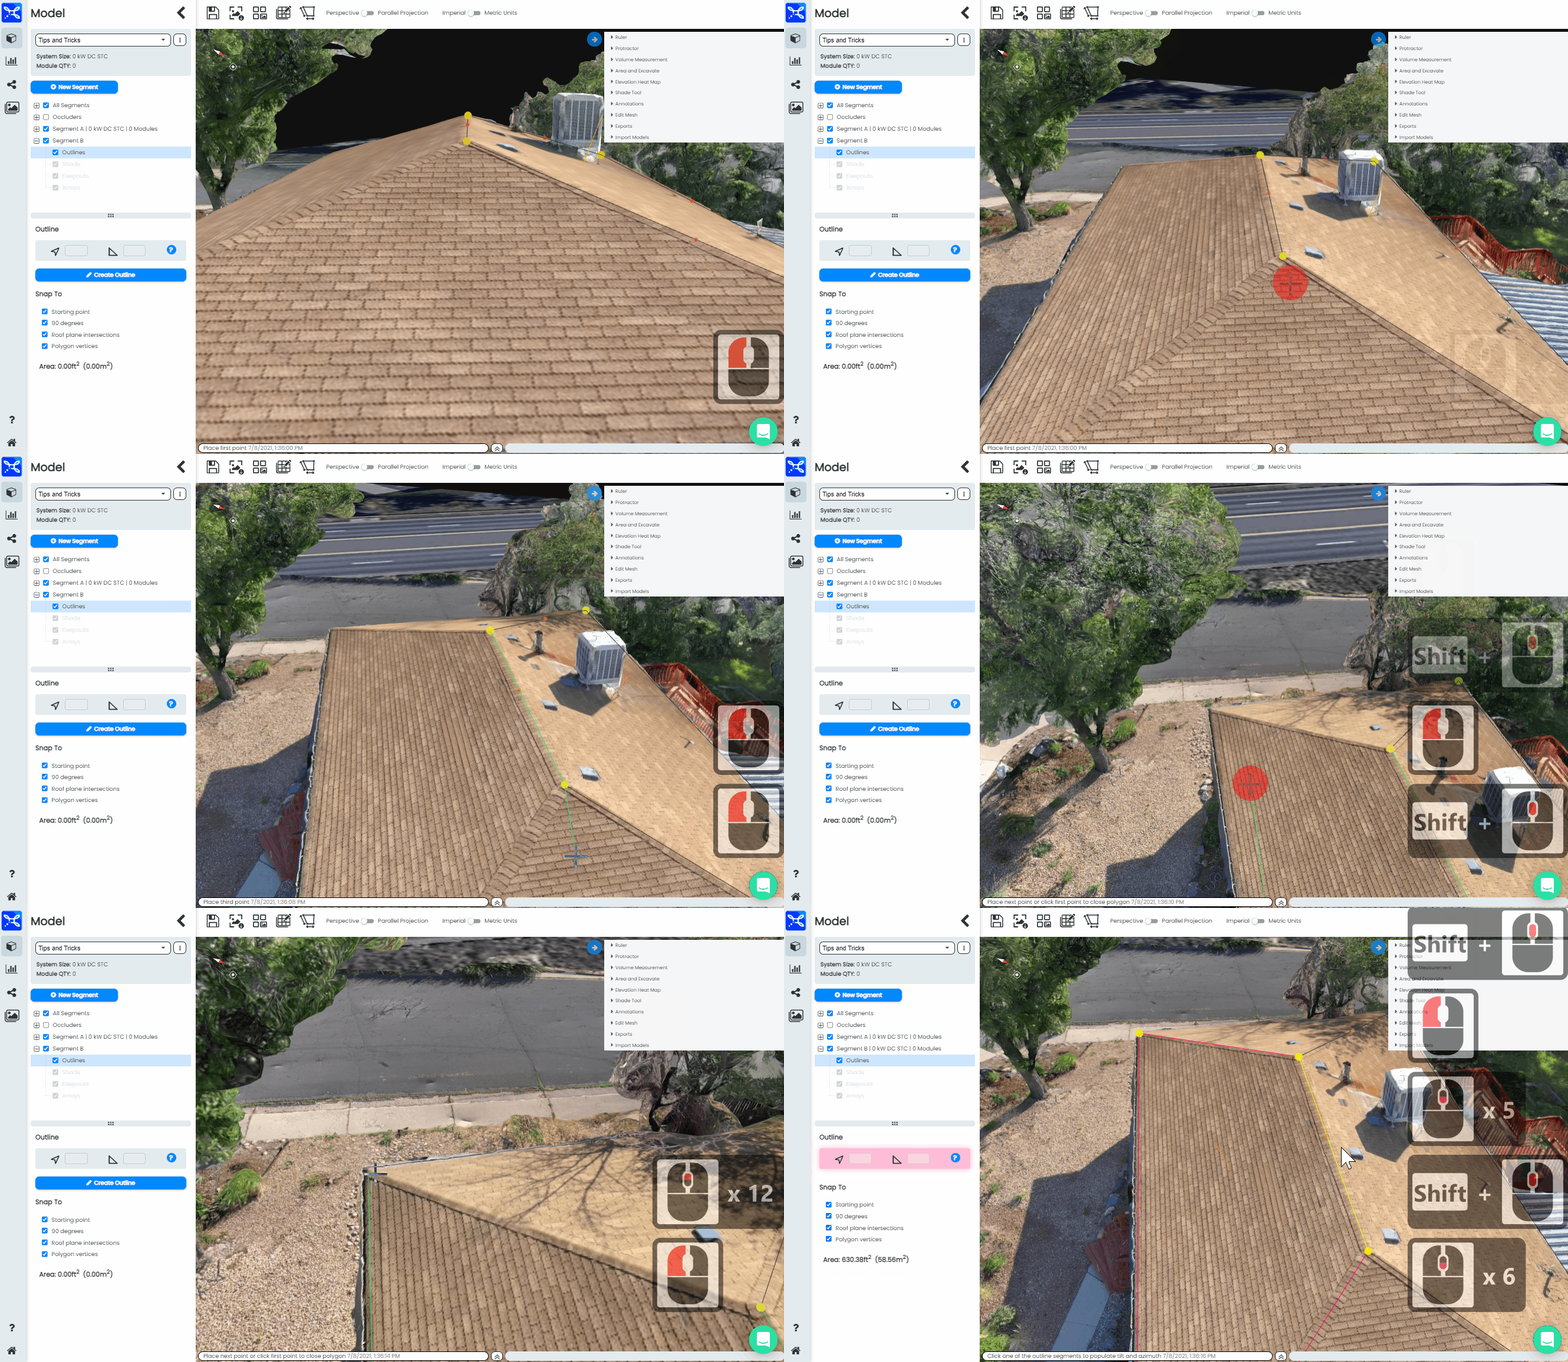
Double check roof outline before completing
-
The key to having a nice roof outline in Scanifly is to make sure the points you are placing for the Segment Outline are in the correct location. Make use of the Orbit / Pan / Zoom function to check your outline before completing it.
-
If there are any issues with the outline, you can press the ESC key to go back a step in the outline and correctly place any points that may have been improperly located at first.
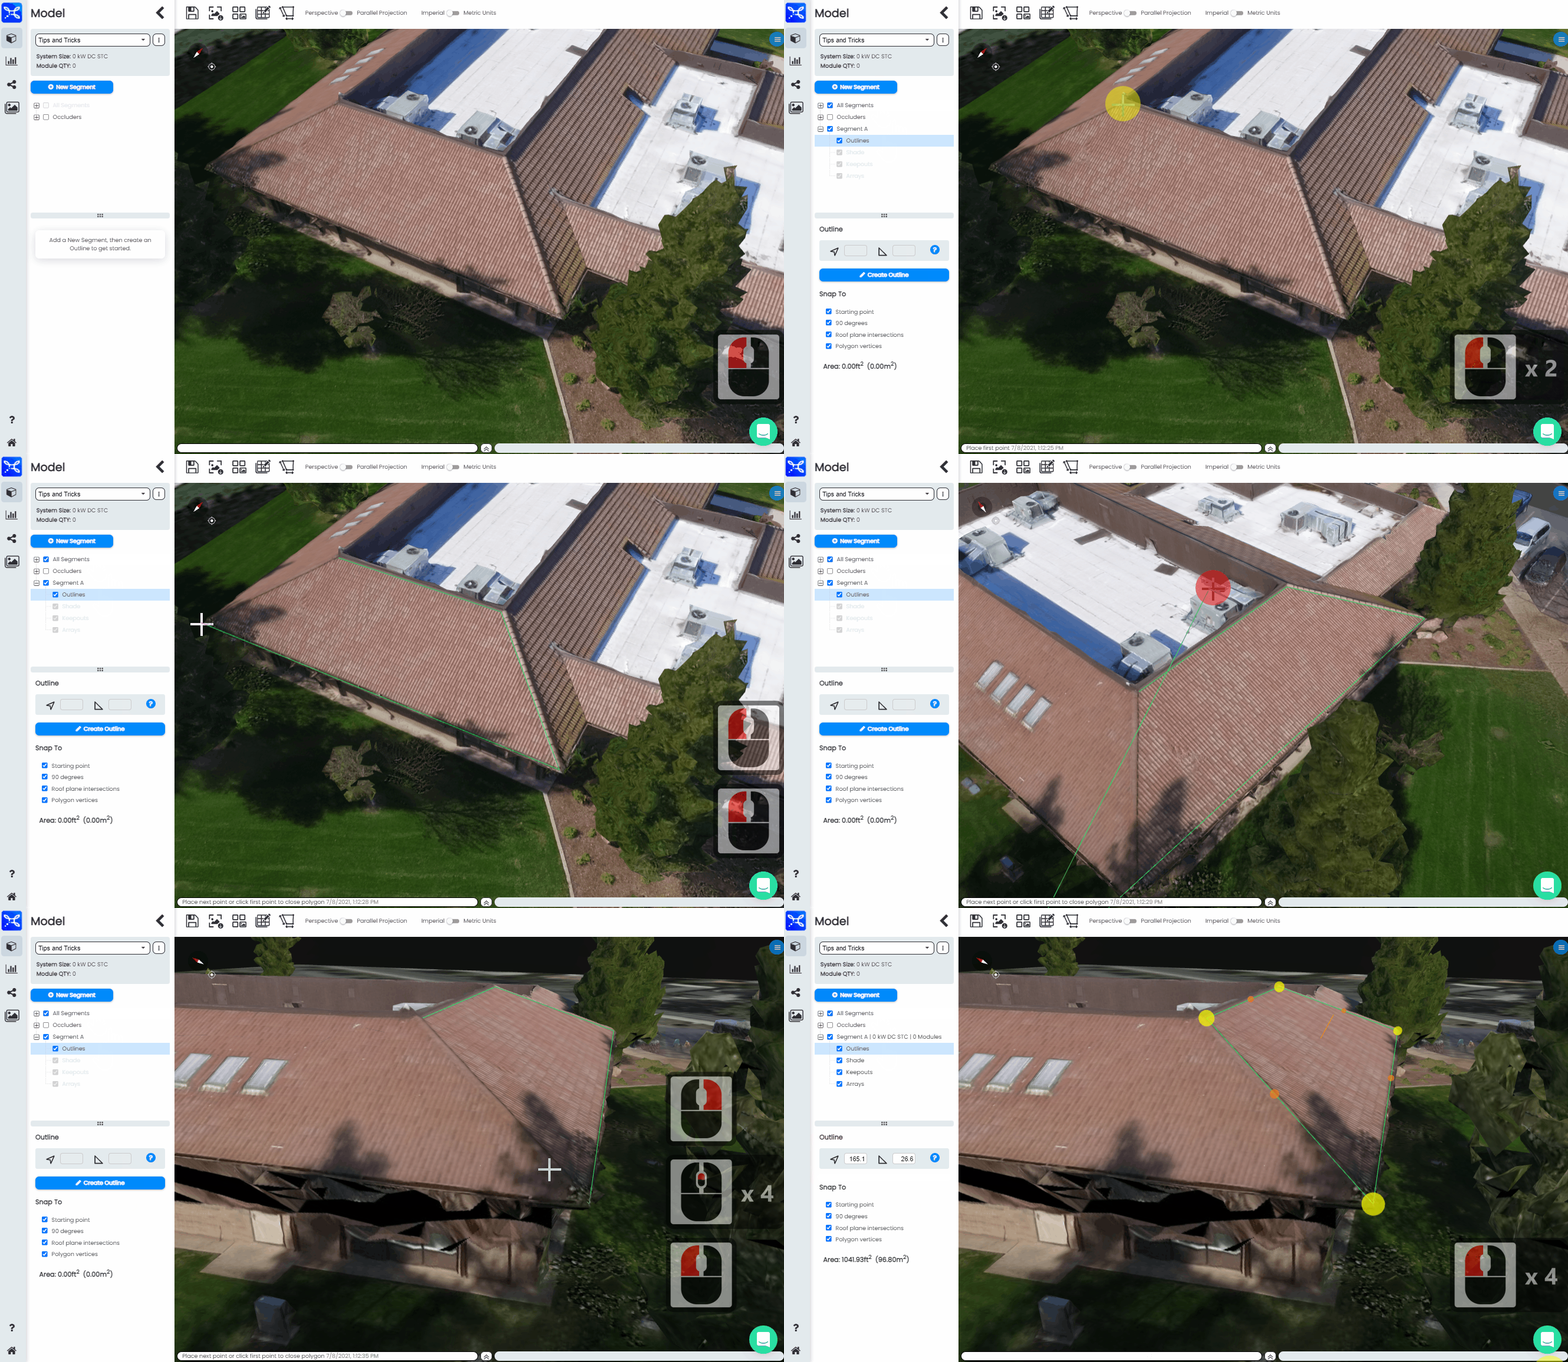
Orbit, Pan and Zoom in Scanifly 3D to double check your segment outline before completing.
If an outline is complete, and you notice a point off of the roof, you need to delete that outline and start over.
Once the outline is complete, if you notice any points that are not on the mounting plane, you will likely need to delete and re-start your outline. Once an outline is completed it is nearly impossible to get the points "back on" the mounting surface.
That is why it is best to make sure your outline points are on the roof before completing an outline.
ESC Key - "Undo" button while creating outlines or poly-keepouts
-
While creating a Segment outline or poly keepout, you can press "ESC" to go back one step of the outline. Each time you press ESC you will go back one more step, until you get back to the beginning.
-
Note: once the outline or poly keepout is complete you can not go back using ESC.
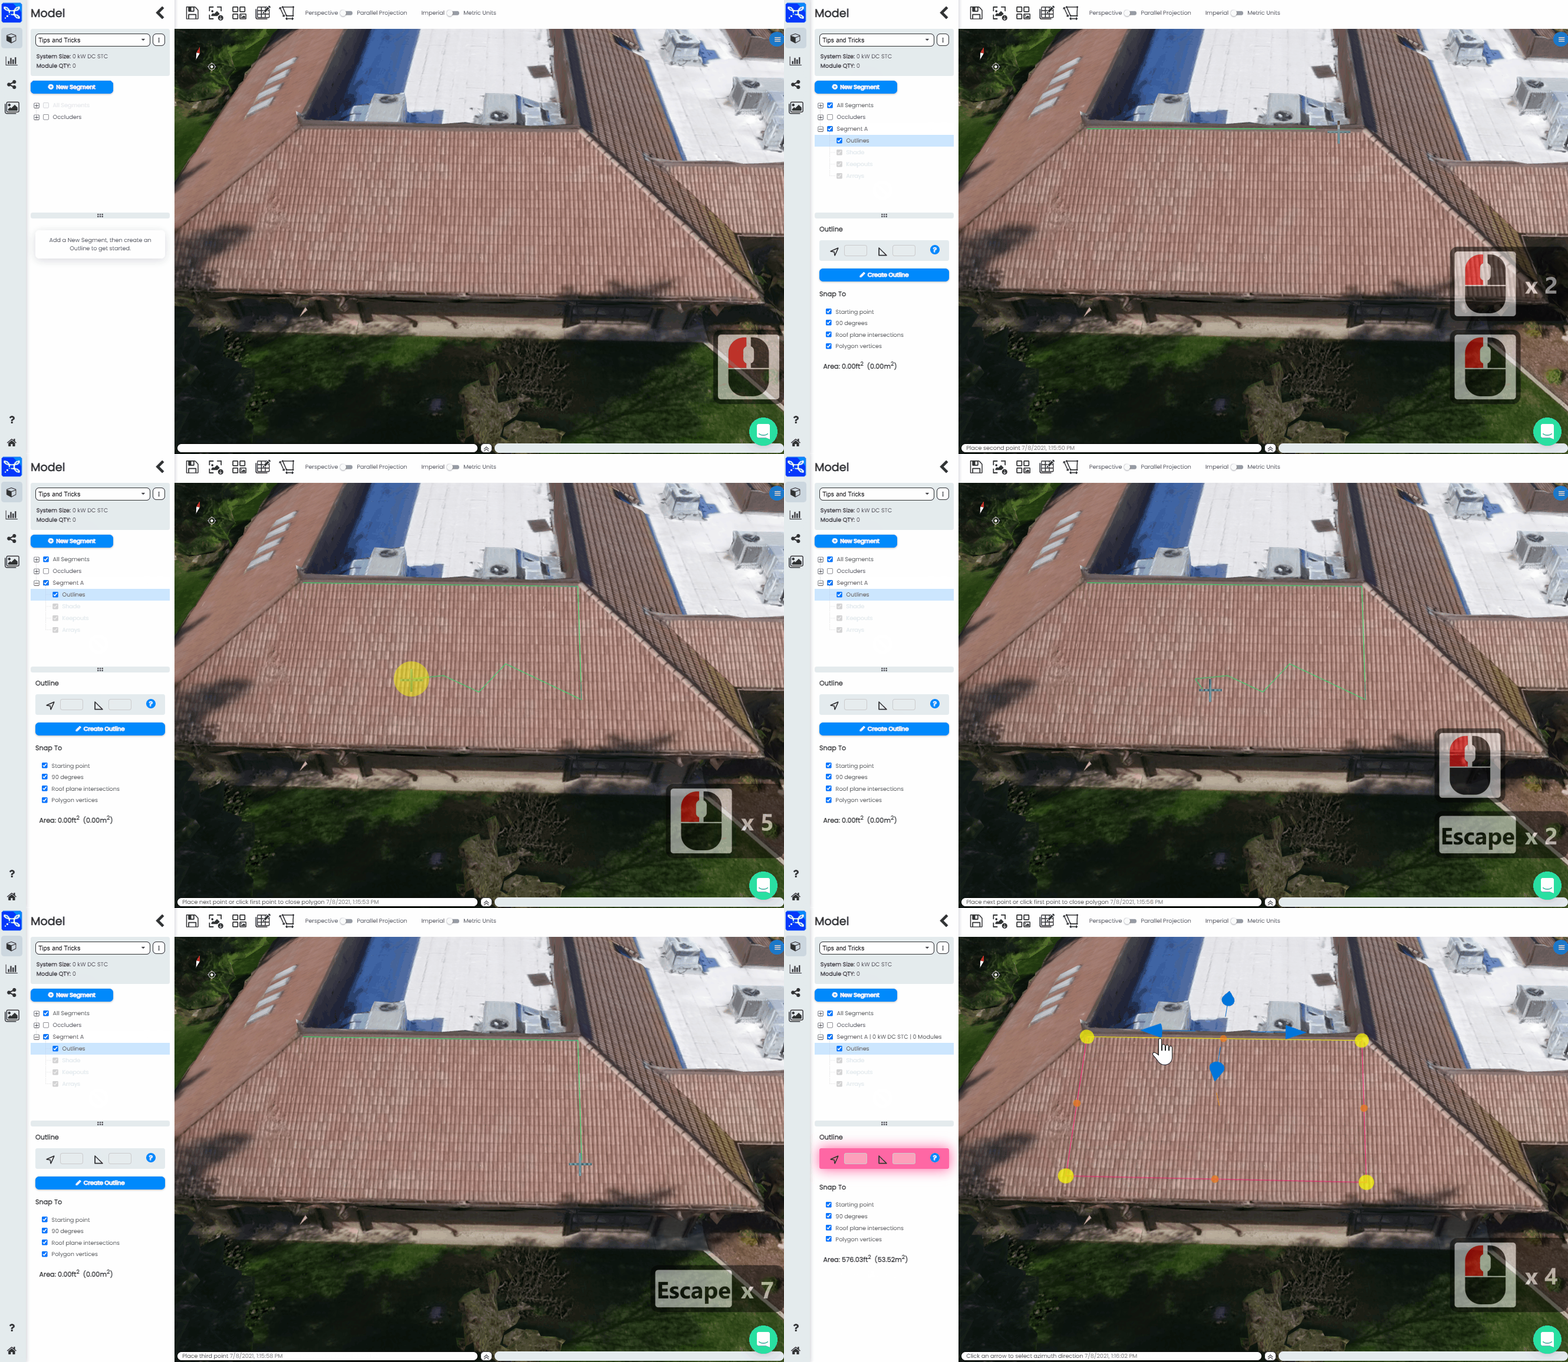
Using the ESC to undo segment outline steps before completing an outline.
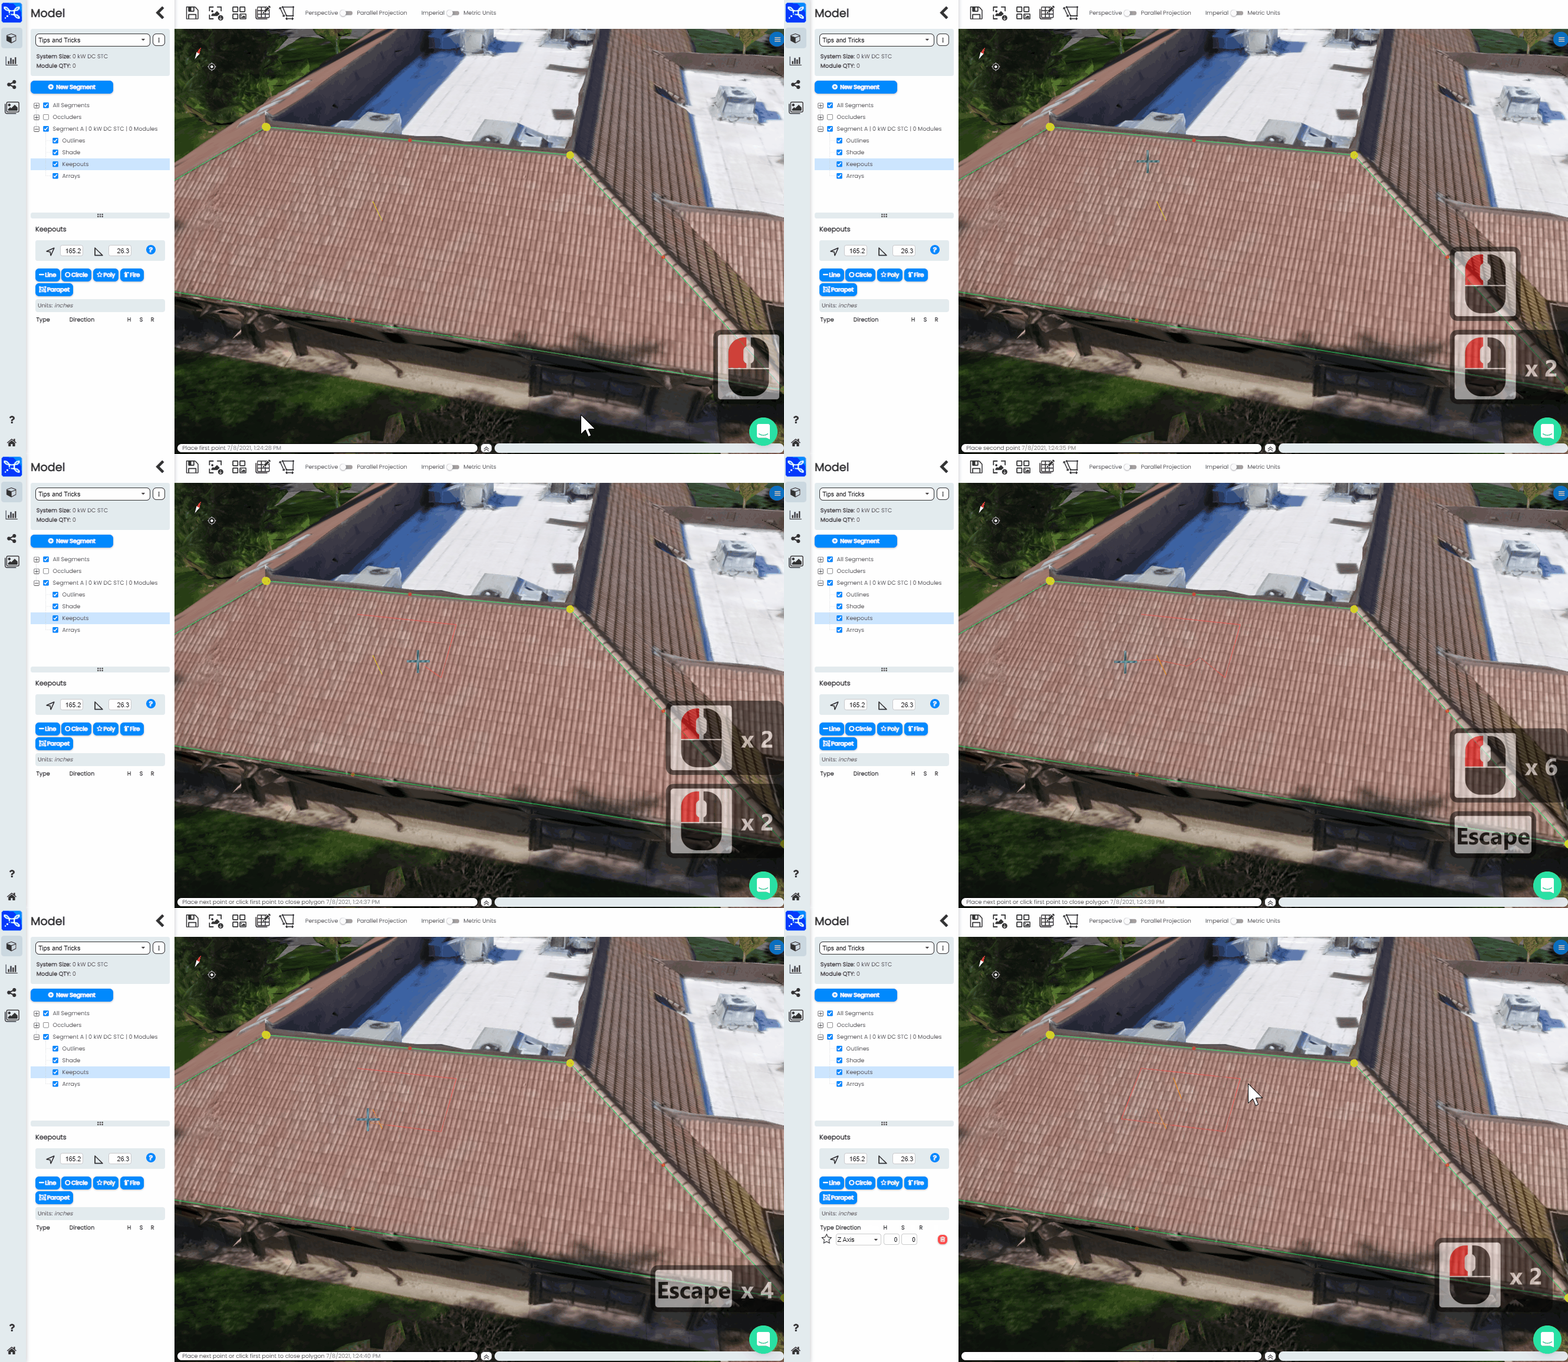
Using the ESC to undo poly keepout outline steps before completing an poly keepout.
Keepout Hotkeys
The Line, Circle and Poly keepouts all have hotkeys associated with them to make it easier to quickly place keepouts on an outline. After making your first keepout, simply hit any of the corresponding hotkeys for each keepout to make the next keepout of your choice.
- L - for Line keepout
- C - for Circle keepout
- P - for Poly keepout
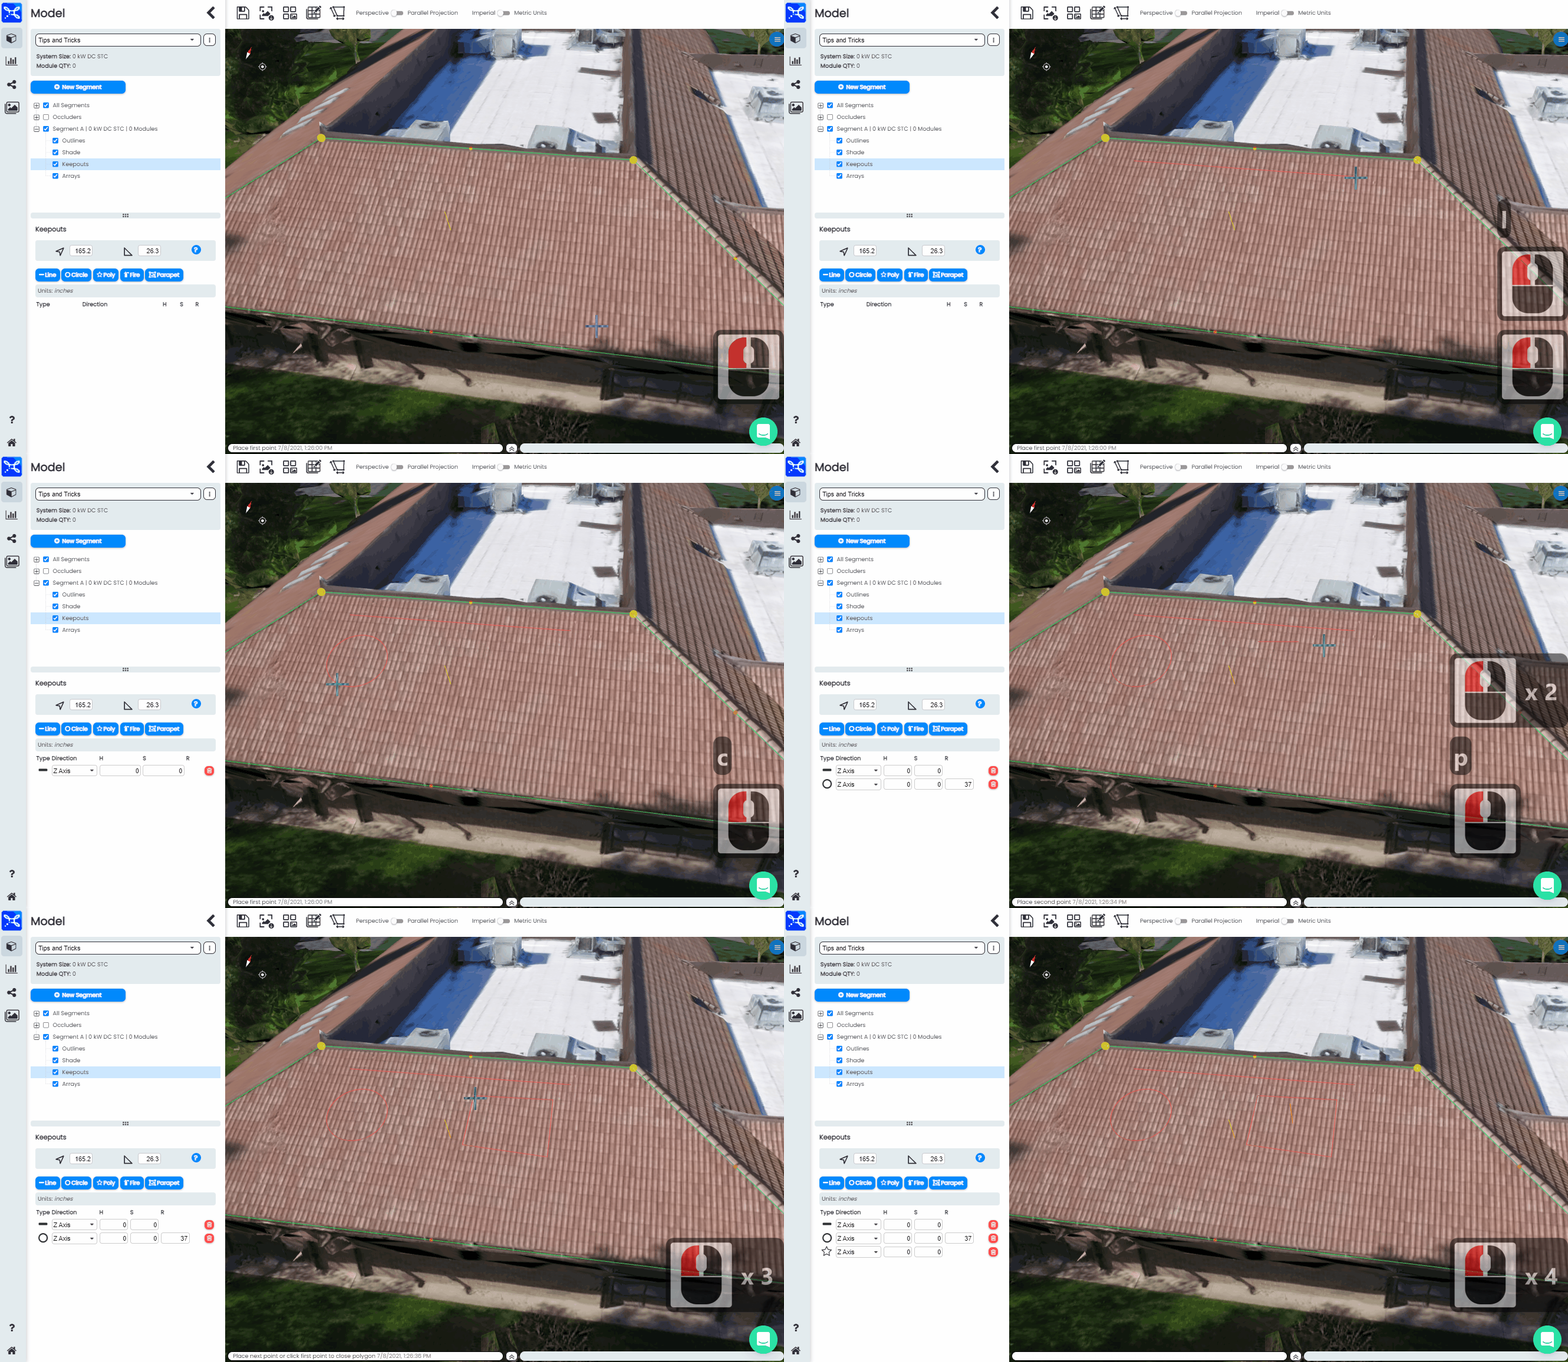
Using the "L", "C","P" hotkeys for Line, Circle, Poly keepouts.
Fire setback - Use "Tab" to quickly add setbacks on your outline
When making a Fire setback, you can use Tab to quickly go through the text boxes that show for each individual keepout distance.
After clicking on the first setback, just type in the designated keepout amount and hit "Tab" to go to the next keepout text box.
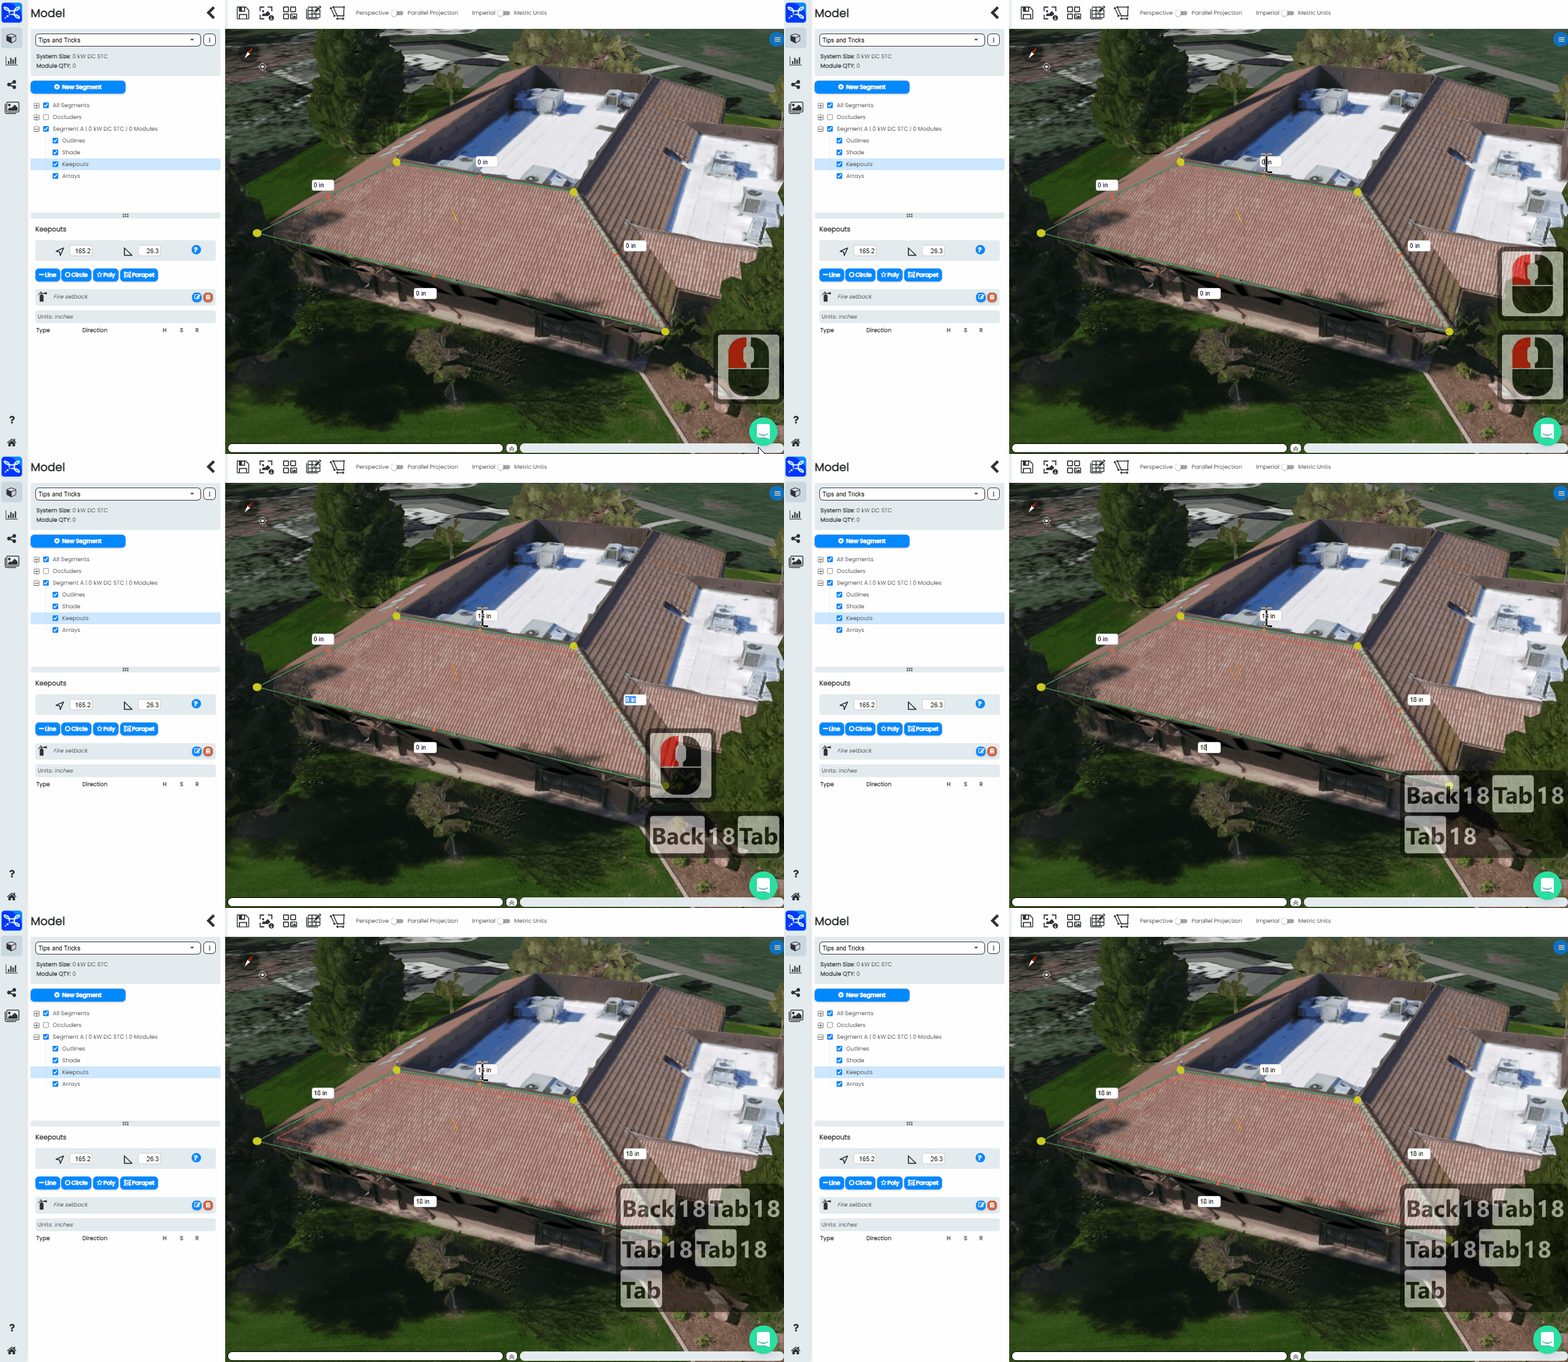
Using tab to quickly cycle through the text boxes for keep out distance designation.
Viewsheds - Enter/Spacebar for placing Viewsheds quickly
After placing your first Viewshed manually, you can place additional Viewsheds using the Enter or Space keys without having to click "Add Viewshed" each time.
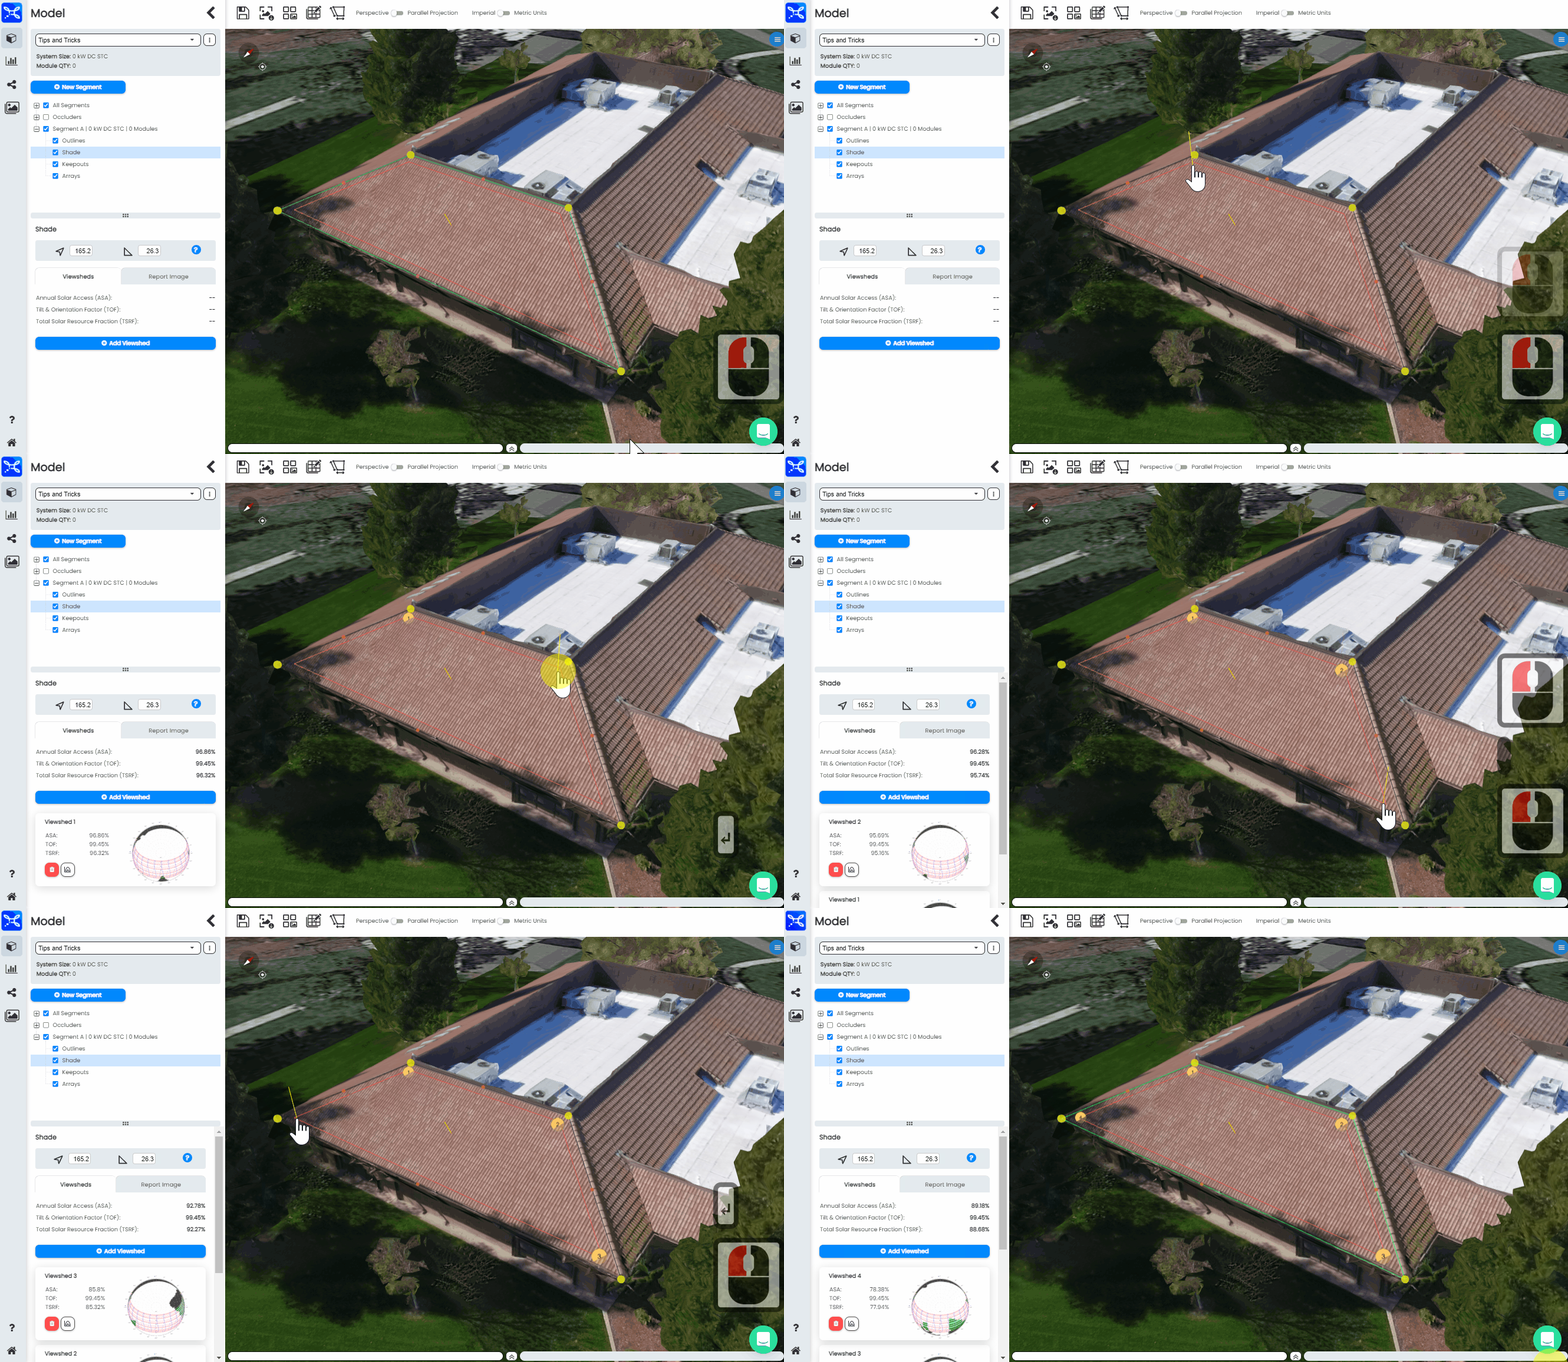
Placing viewsheds rapidly using the ENTER or SPACE keys.
Box and Stretch - Roof outline trick
If you have a particularly difficult roof to outline, potentially a complex flat roof or roof with a tree overhanging, you can use the Box and stretch technique to make the roof outline process much easier.
- Place a box on the roof surface that you want to outline.
- Set the tilt and azimuth.
- Adjust yellow segment corners or orange segment midpoints to the point on the roof that you would like to outline.
You will notice with this method, once the points are initially set on the roof using the box, they want to stay on that plane. That is why you can easily drag them into the corners of the roof without having them fall off.
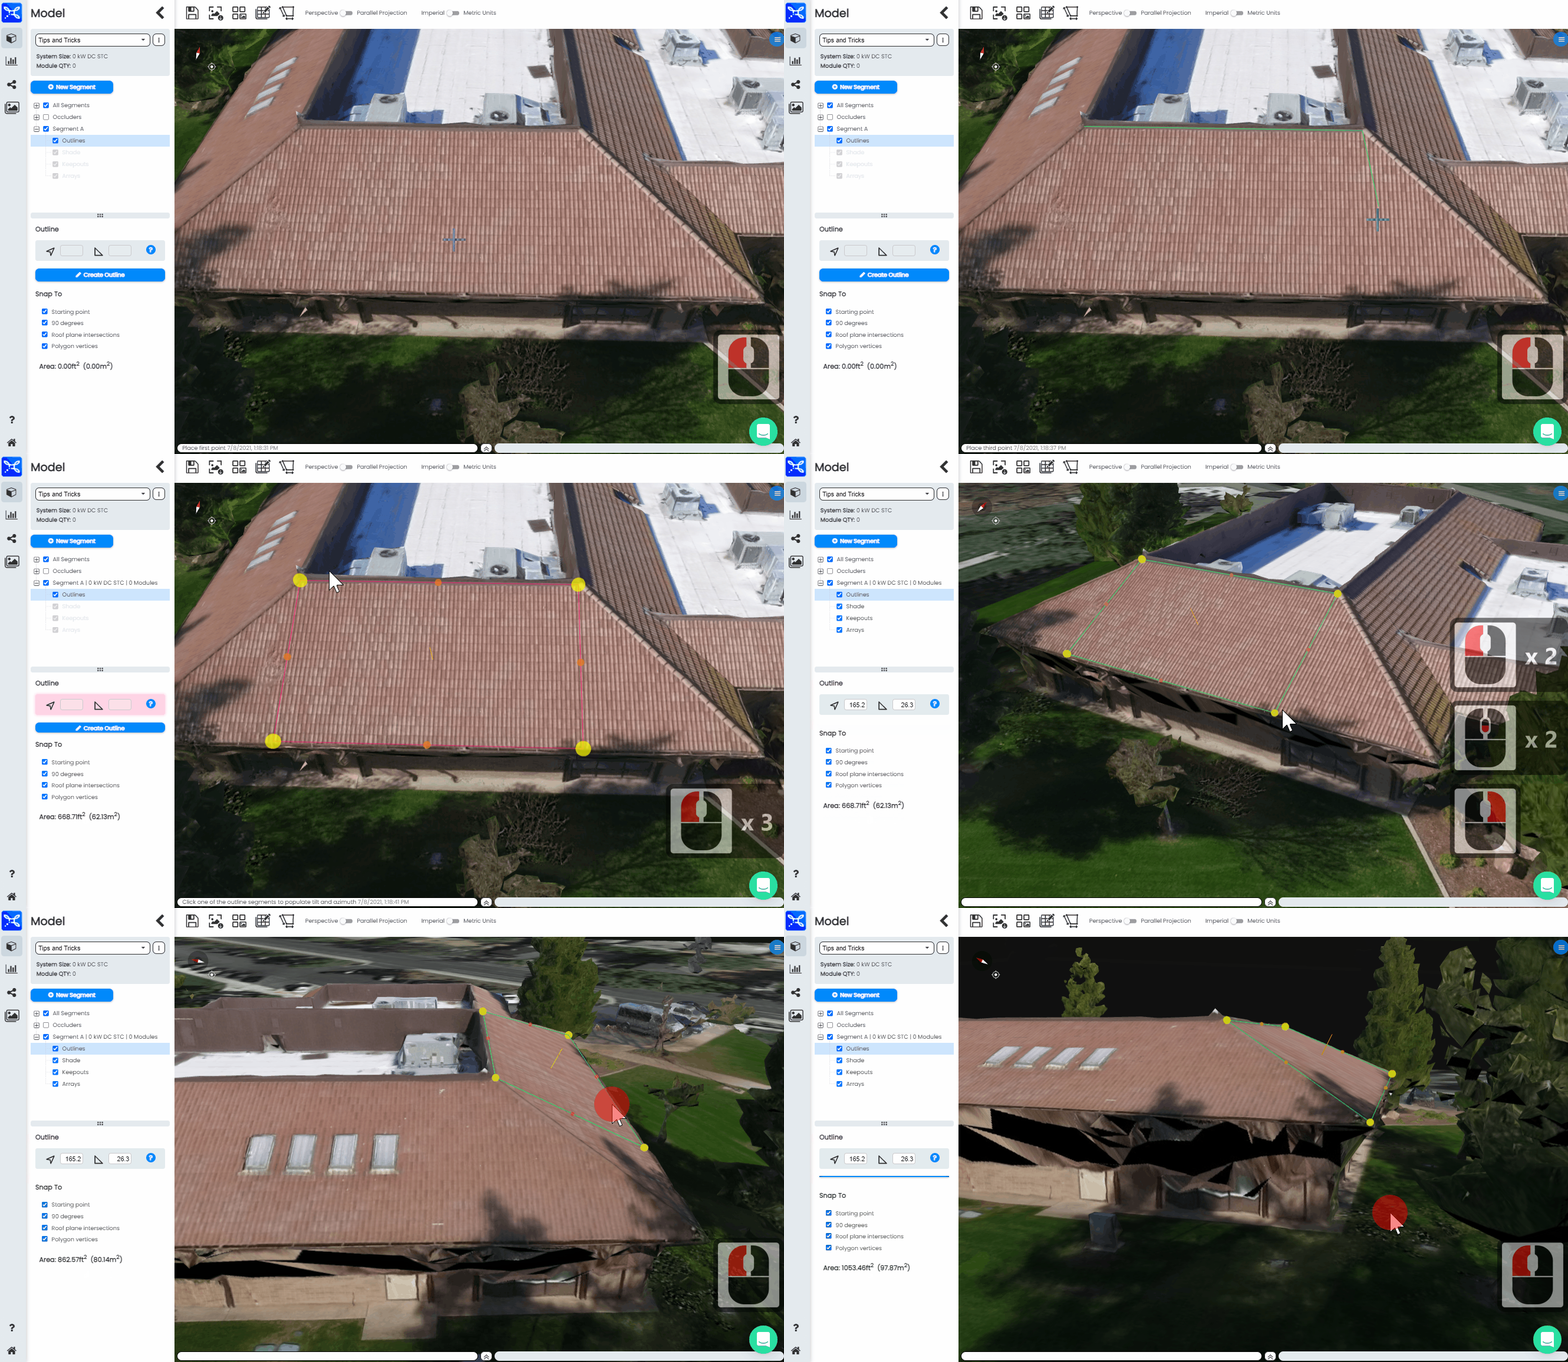
Using the Box and stretch technique to outline a tricky roof in Scanifly 3D.
Best Practice is to outline to the ridge center
When making roof outlines on adjoining roofs, it is important to make sure the first outline is set to the middle of the ridge. This allows you to easily make the next segment off of those points, for an easier roof outline and crisp CAD Export
Make sure to place your segment in the middle of the ridge, so that you have a clean CAD export and a design in Scanifly that fully maximizes your entire roof potential.
Updated 1 day ago